
Cute Polka Dot Nail Art Tutorial
⌨️
If you’re wondering how the pros come up with so many great nail art ideas… well, let’s just say there are some secrets they probably wish you didn’t know. We thought we’d share one with you now – you can try professional-quality polka dot manicures at home without investing in any special equipment?
View in gallery
Once you try this, it’s likely to become a new favorite you’ll go back to over and over again. Believe it or not, the secret lies in using a simple at-home paste plaster that you’ll convert into a temporary template.
Polka Dot Nails: What You Need
- plaster
- two color nail polish
- Scissors
View in gallery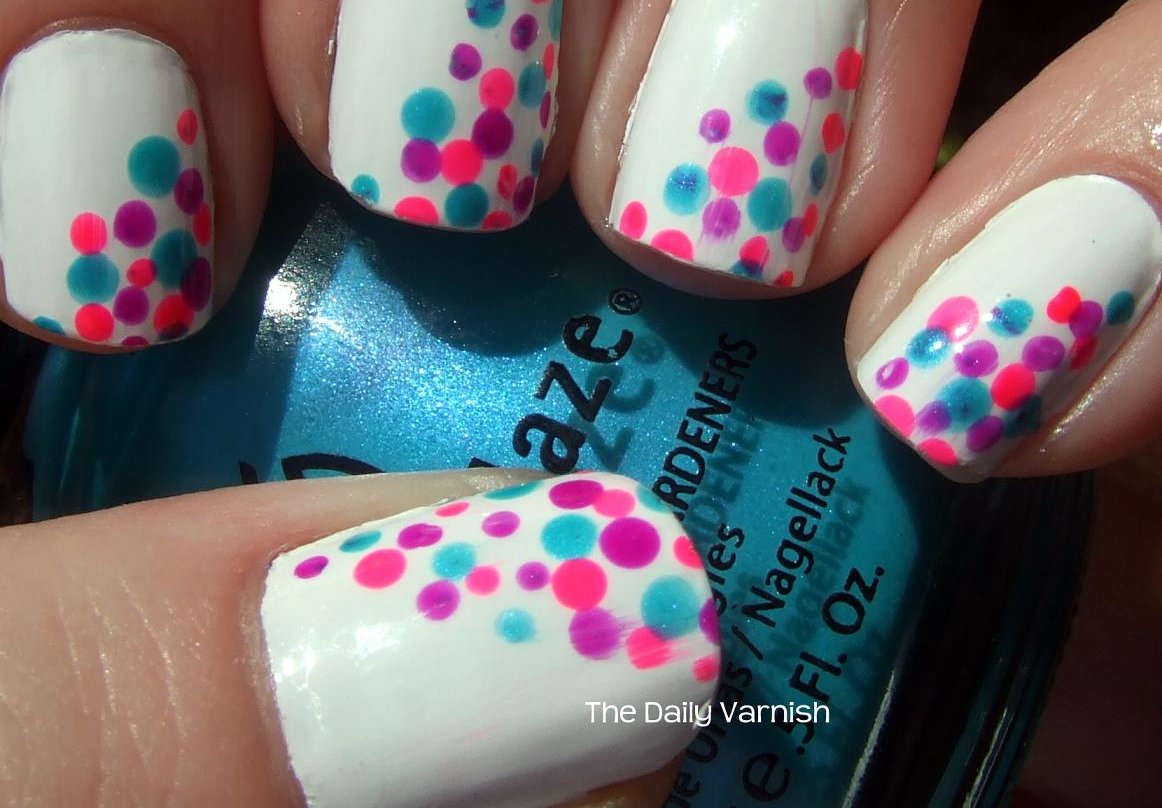 View in gallery
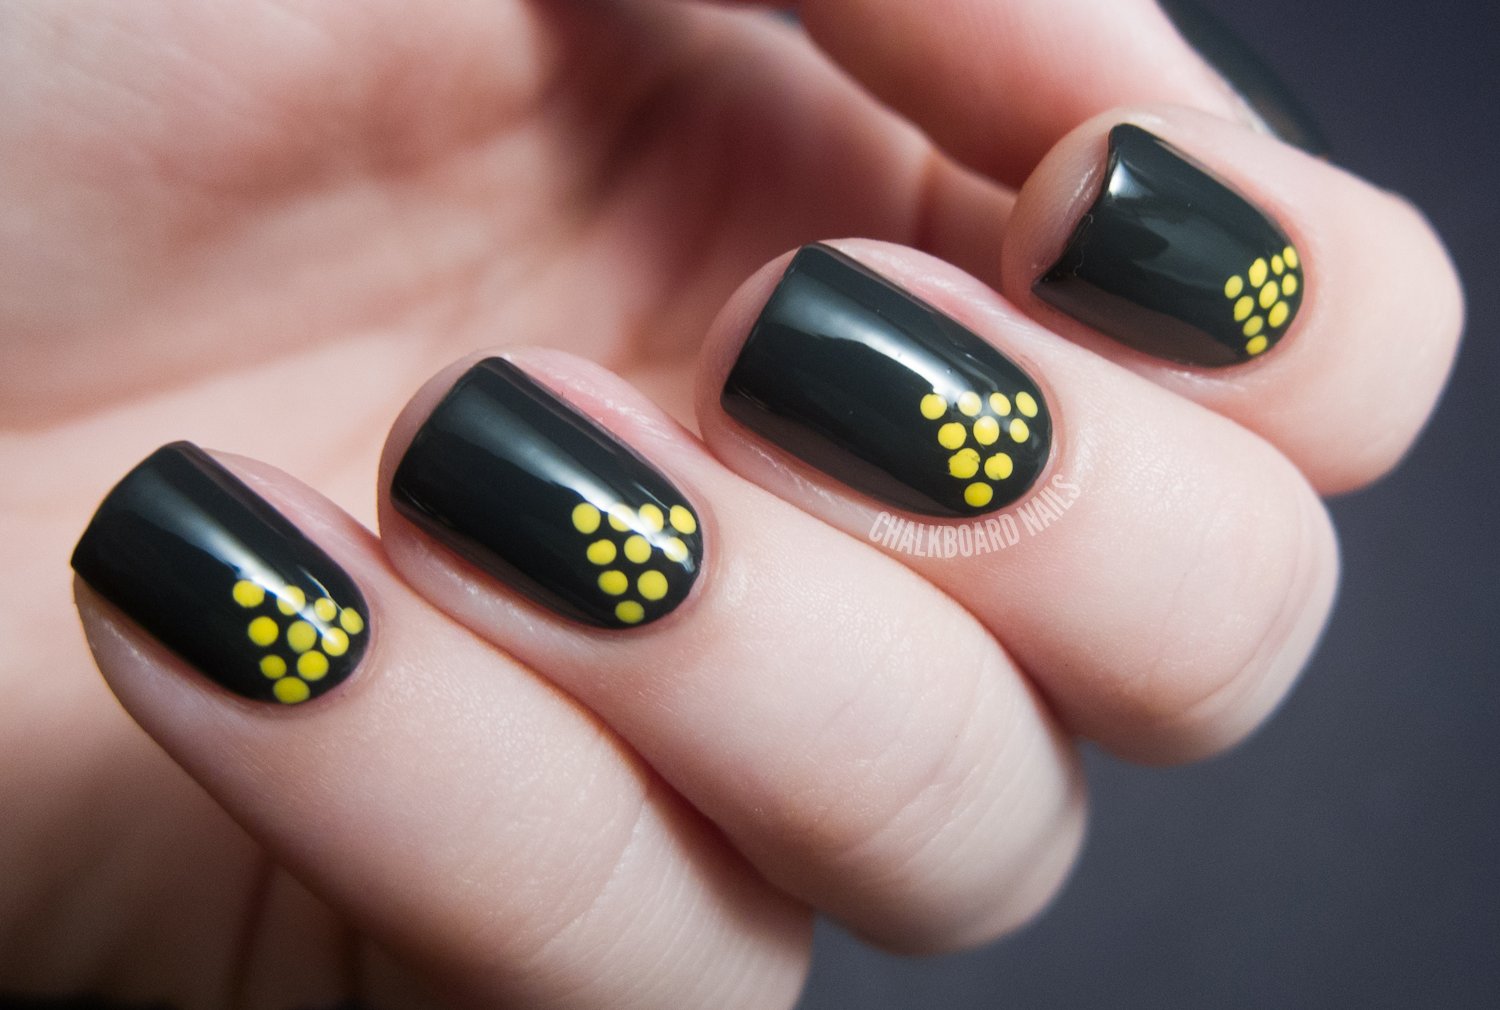
how it works
- Take one of the sticky ends of the cast (the one with the hole) and cut it off with scissors. Make sure the piece you cut is big enough to completely cover your nail.
- Choose the nail polish color of your choice and paint your nails as usual, making sure to allow enough time for the polish to dry.
- Once completely dry and hardened, remove the cast and apply it to the nail.
- After this, simply paint the top of the plaster with a second color of your choice, which will go through the small holes and create a polka-dot effect.
- Wait for the new layer to dry, then carefully peel off the plaster, leaving the dots in place.
It’s awesome to try a bunch of different color combinations or try a different color on each nail. Regardless, a box of plasters won’t cost you like a trip to the salon, so feel free to get creative.
Nail Art Summer Polka Dots: Ideas
View in gallery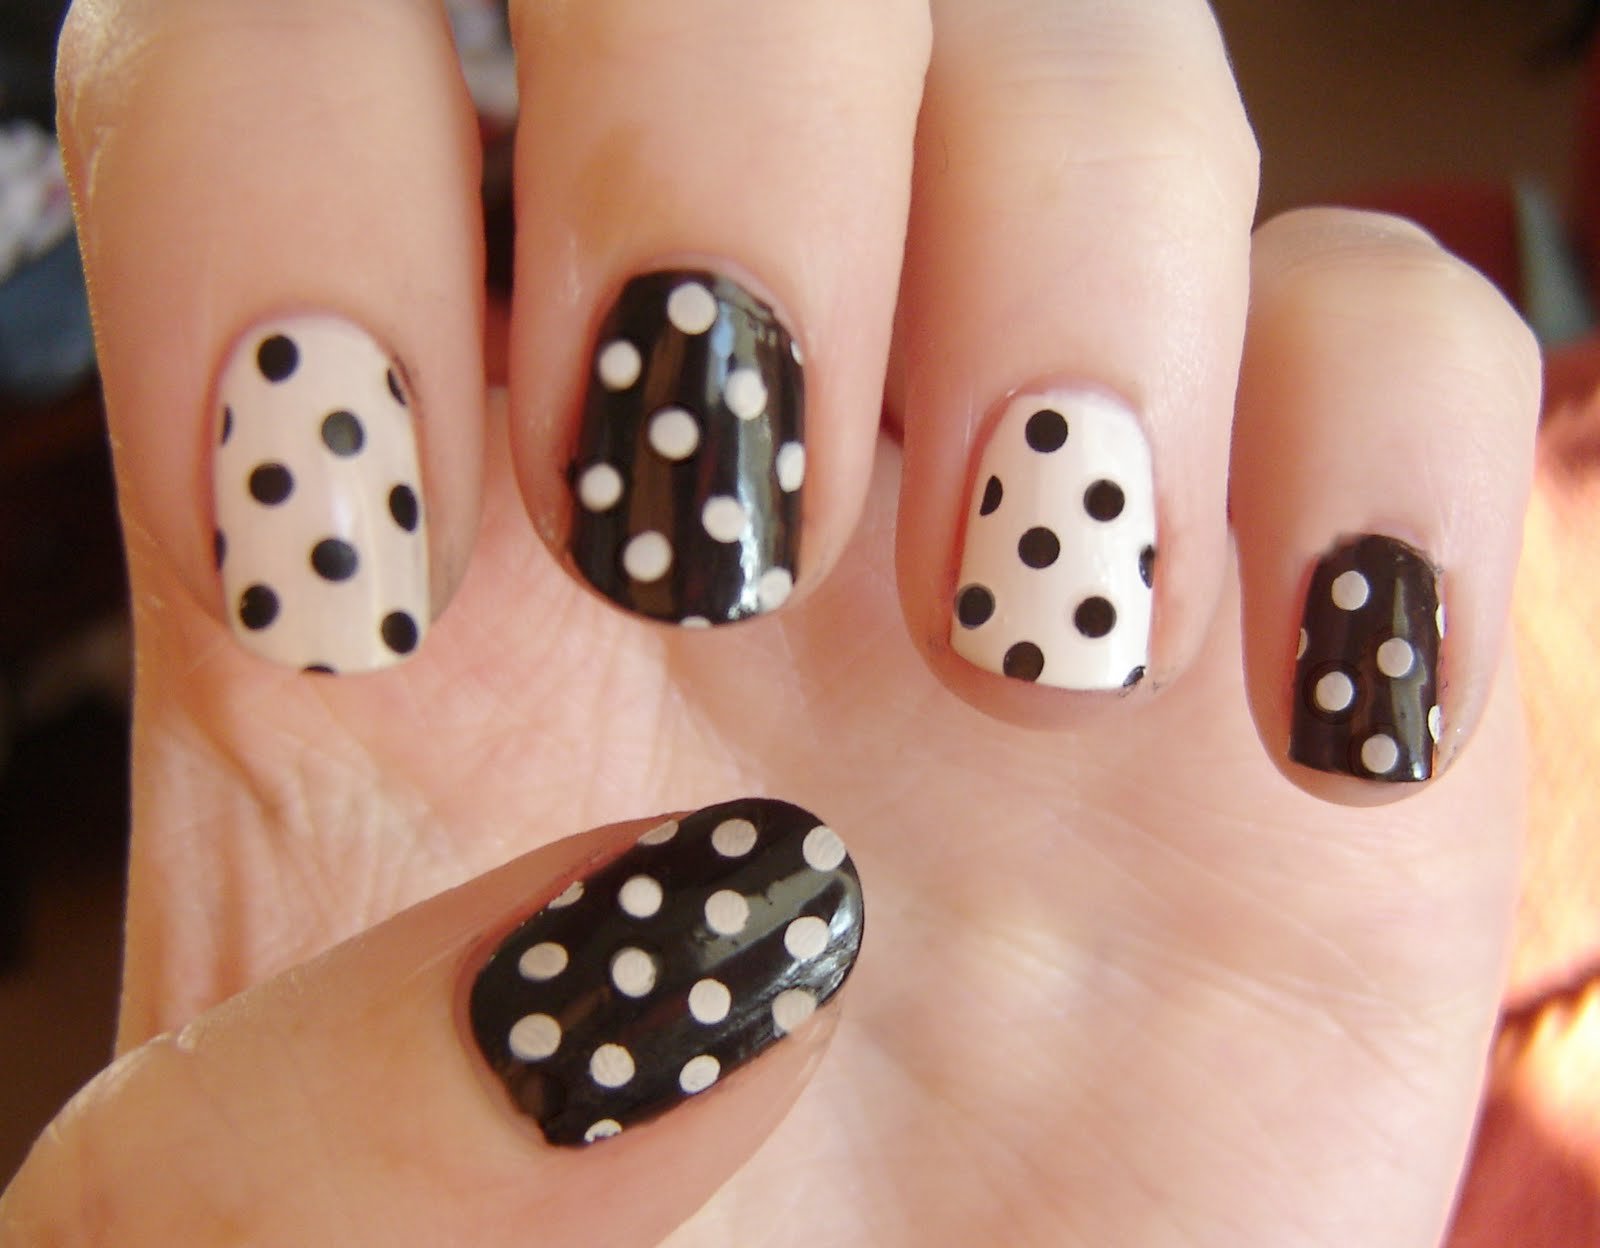 View in gallery
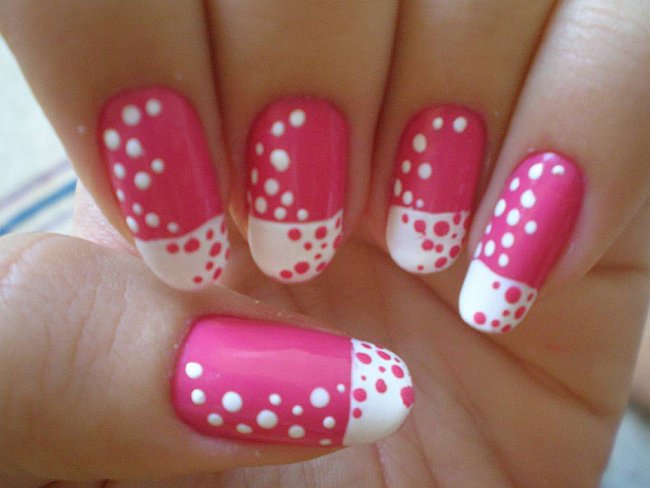 View in gallery
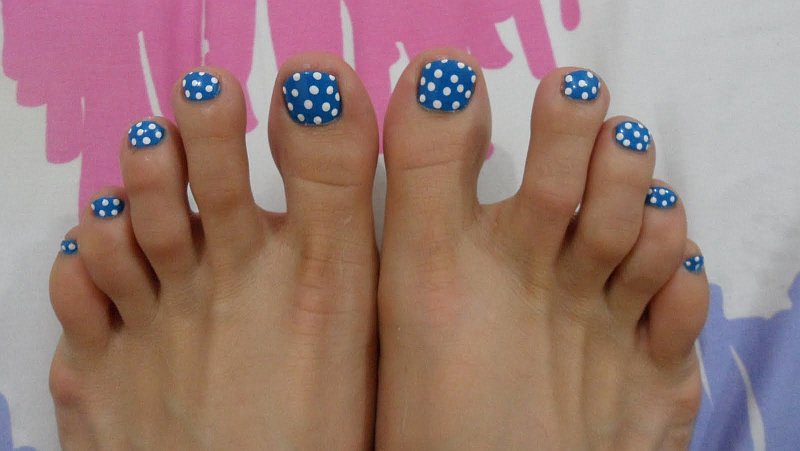 View in gallery
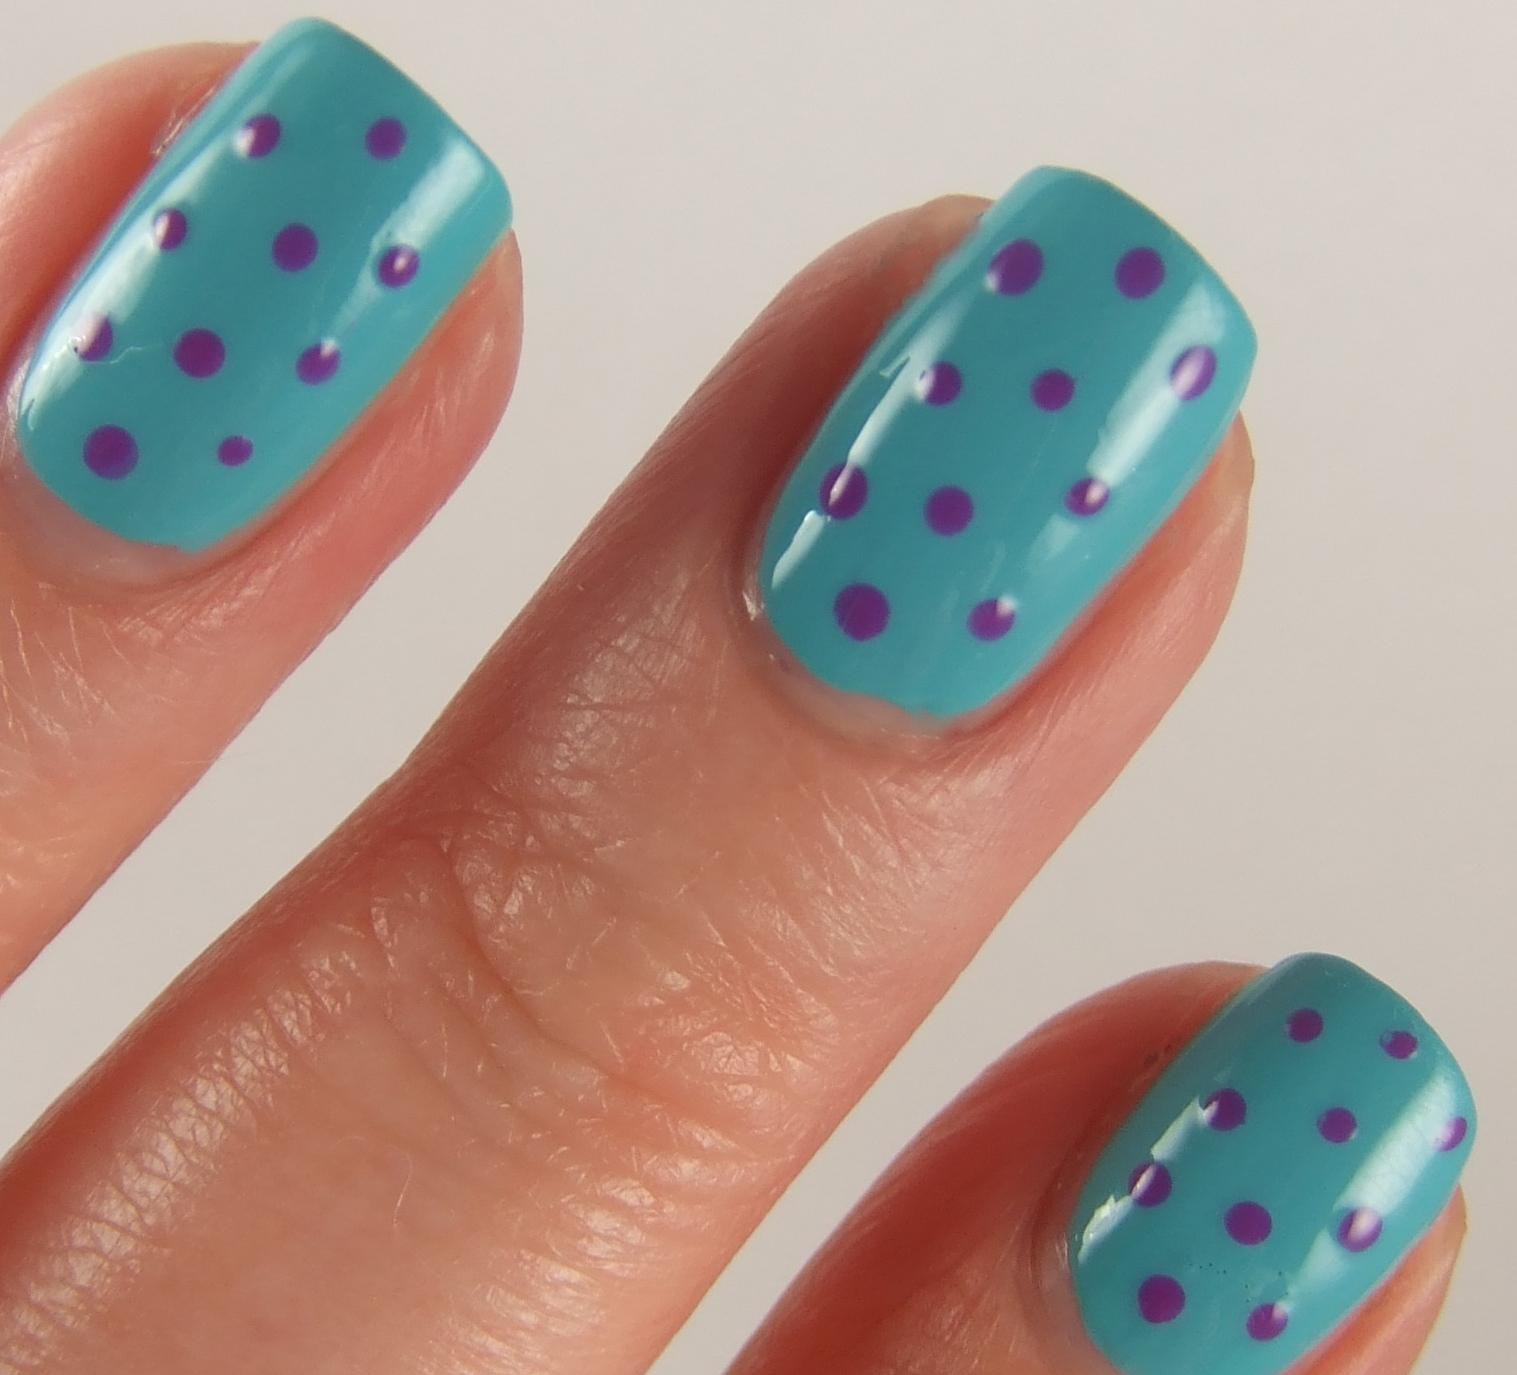 View in gallery
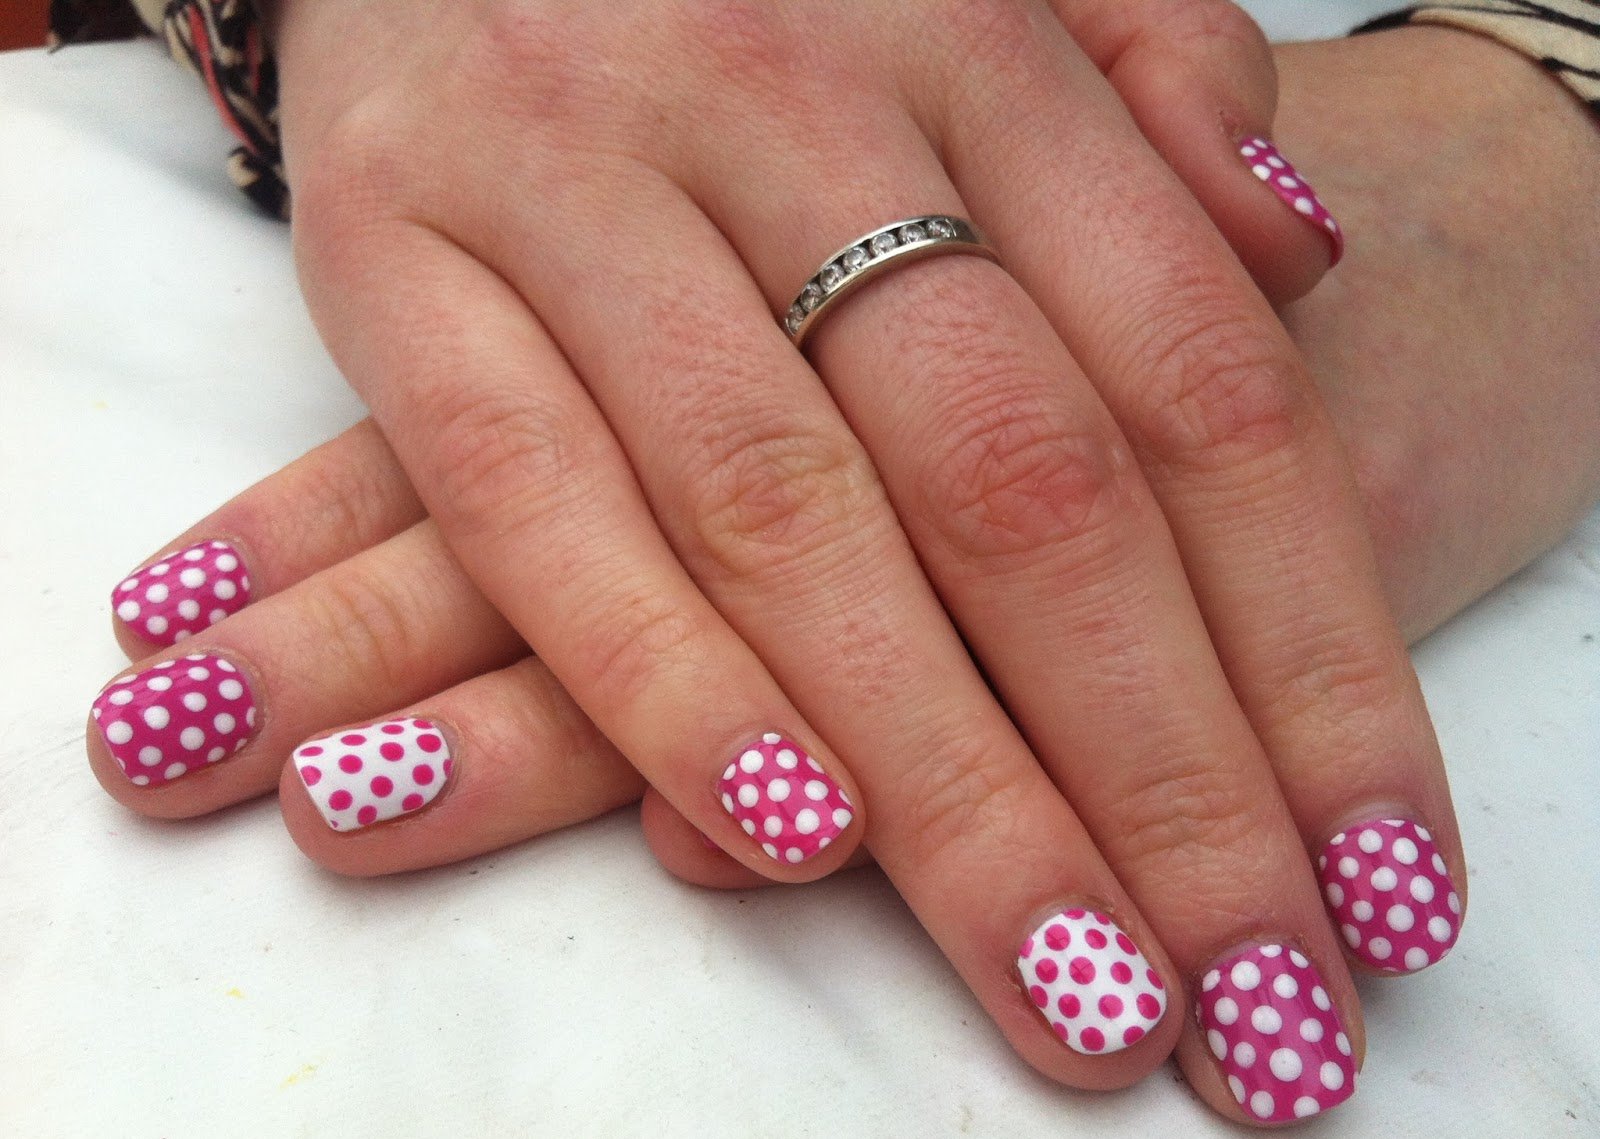
Share your thoughts with our readers below – we’re always happy to hear from you!
Find more articles in our categories DIY Home & DIY Projects et encore Tips & Crafts .
Thanks for visiting we hope our article Cute Polka Dot Nail Art Tutorial
, don’t forget to share the article on Facebook, twitter and whatsapp with the hashtag ☑️ #Cute #Polka #Dot #Nail #Art #Tutorial ☑️!