How to Do Basic Outlines Efficiently
🖥️
Have you ever wondered how makeup artists can so dramatically alter the structure of their faces just using makeup? You’ve probably seen pictures of celebrities like Kim Kardashian with their highlights and contours drawn before their makeup blends in. It may look a bit like war paint, but if you do it right, it can be very effective!
View in gallery
(Source: Beautylish)
look at this A Simple Guide to Basic Outlines. Practice these techniques first, then adjust the shape to fit your facial structure.
step 1:
Gather your tools. you need to:
- a foundation brush
- Contour brush
- a brush
- blending brush or sponge
View in gallery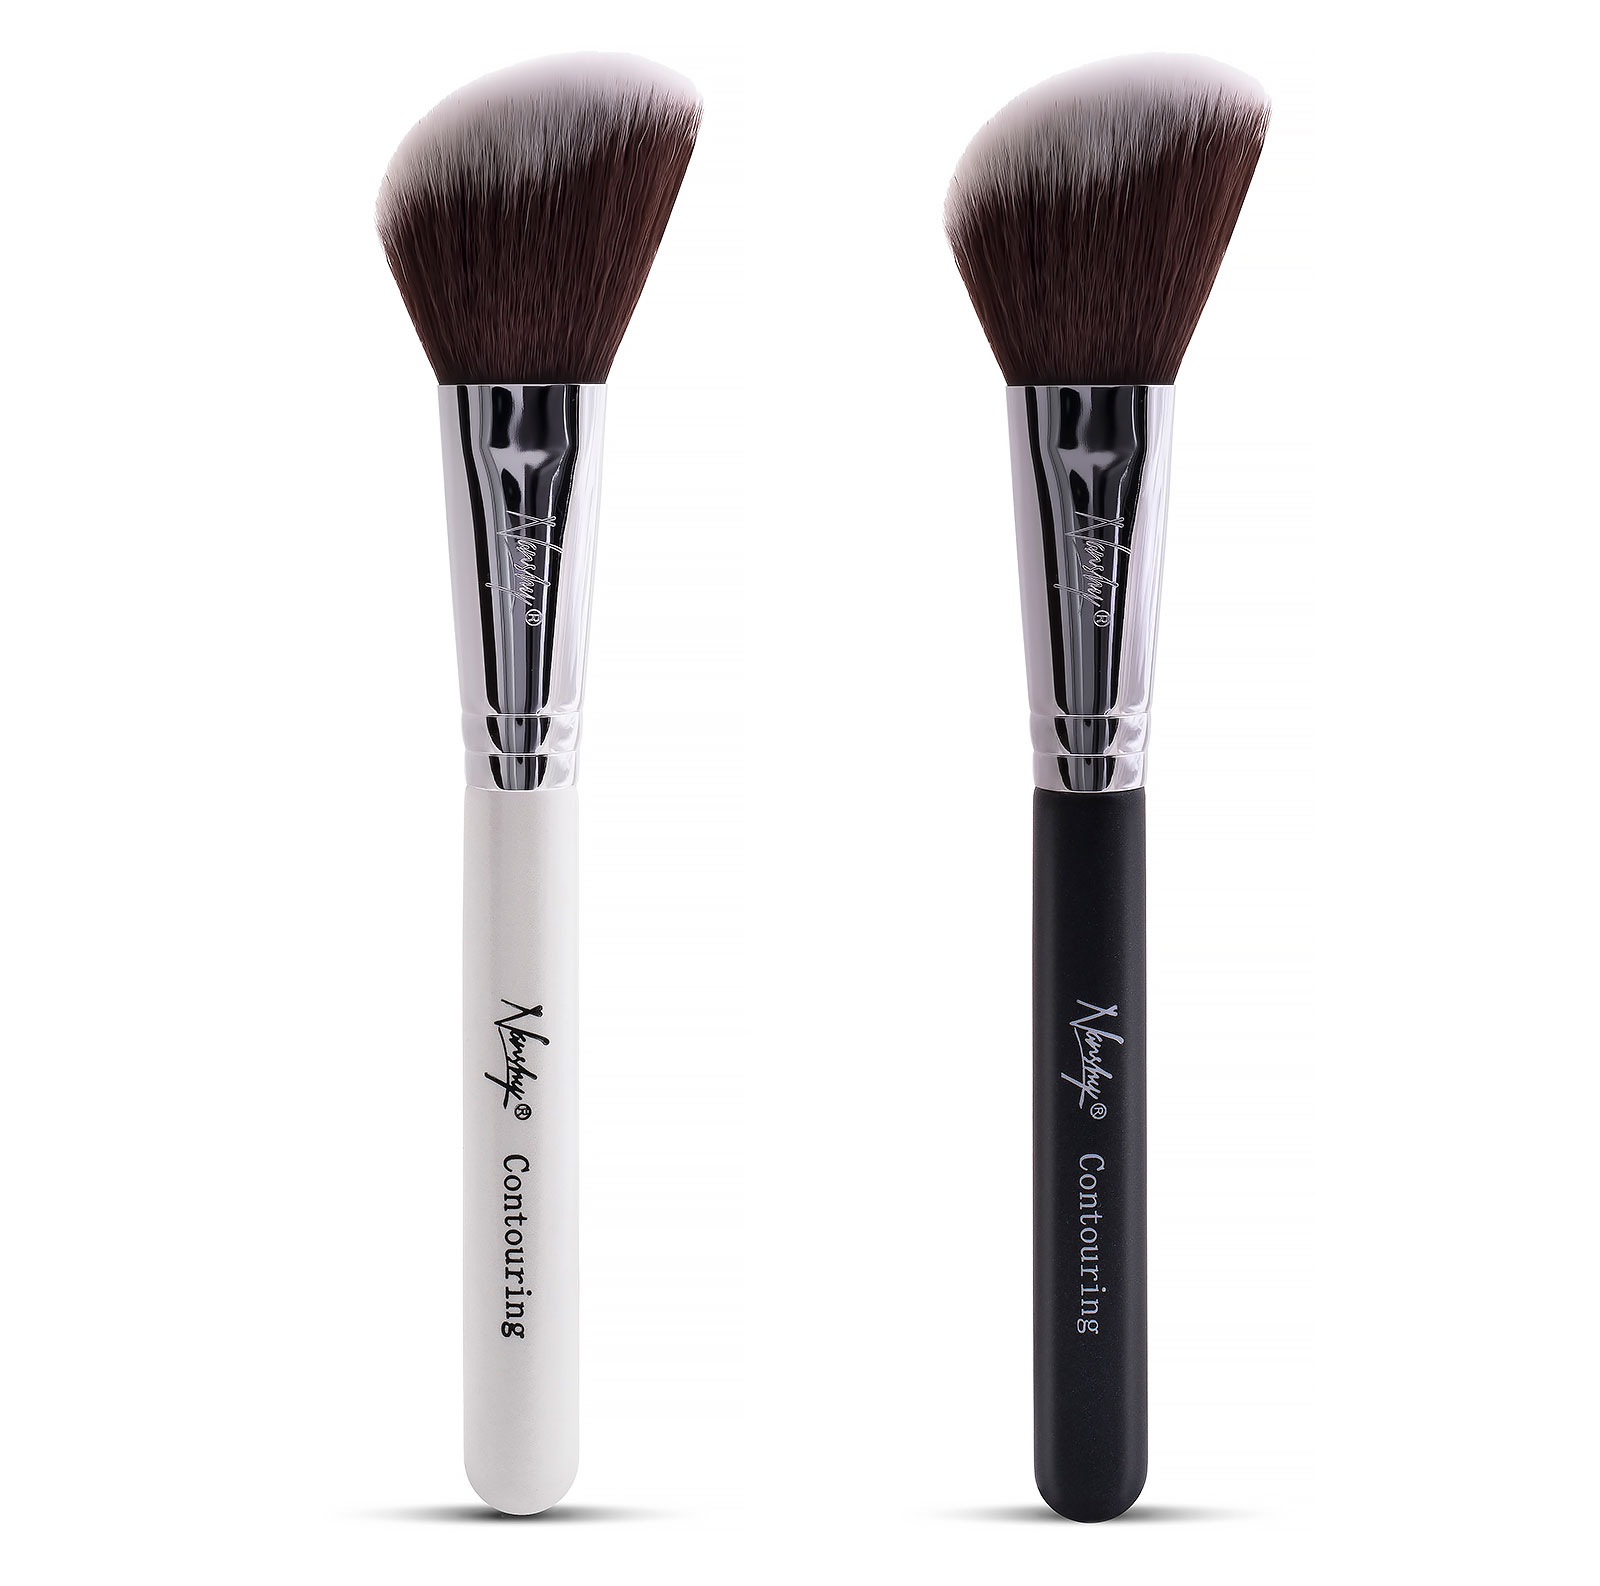
(Source: Nancy)
Step 2:
Choose whether you prefer contouring with a cream or liquid foundation for a more pronounced and pronounced effect, or if you prefer contouring with a powder for a more subtle look.
View in gallery
(Source: Beautezine)
Step 3:
Collect your makeup products. you need to:
- skin primer
- your foundation
- your highlight base
- your contour base
- Translucent Setting Powder
You might consider buying all of these products individually, or a contour palette that includes highlight and contour colors that work for you.
View in gallery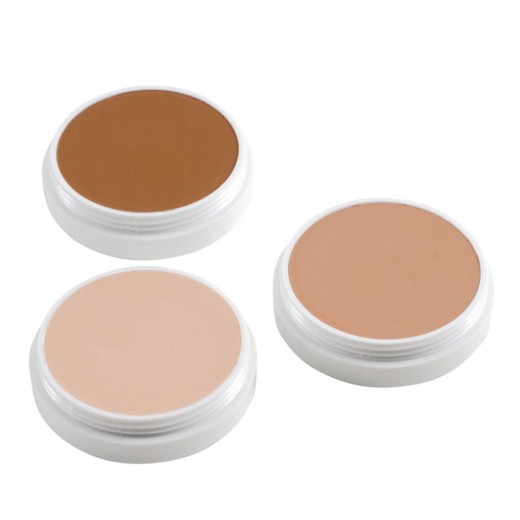
(Source: Alcone)
Step 4:
color match. Make sure your base, highlight and contour shades suit your skin tone and each other. Ideally, you should:
- A base foundation that perfectly matches your skin tone. This color is for full coverage to even out the appearance of your skin.
- A standout color. This look should be a shade or two lighter than your base foundation. You’ll use it to emphasize certain features to make them stand out.
- Outline color. This look should be a shade or two darker than your base foundation. You’ll use it to shade around, under, and under certain features to draw attention to specific areas of the face.
View in gallery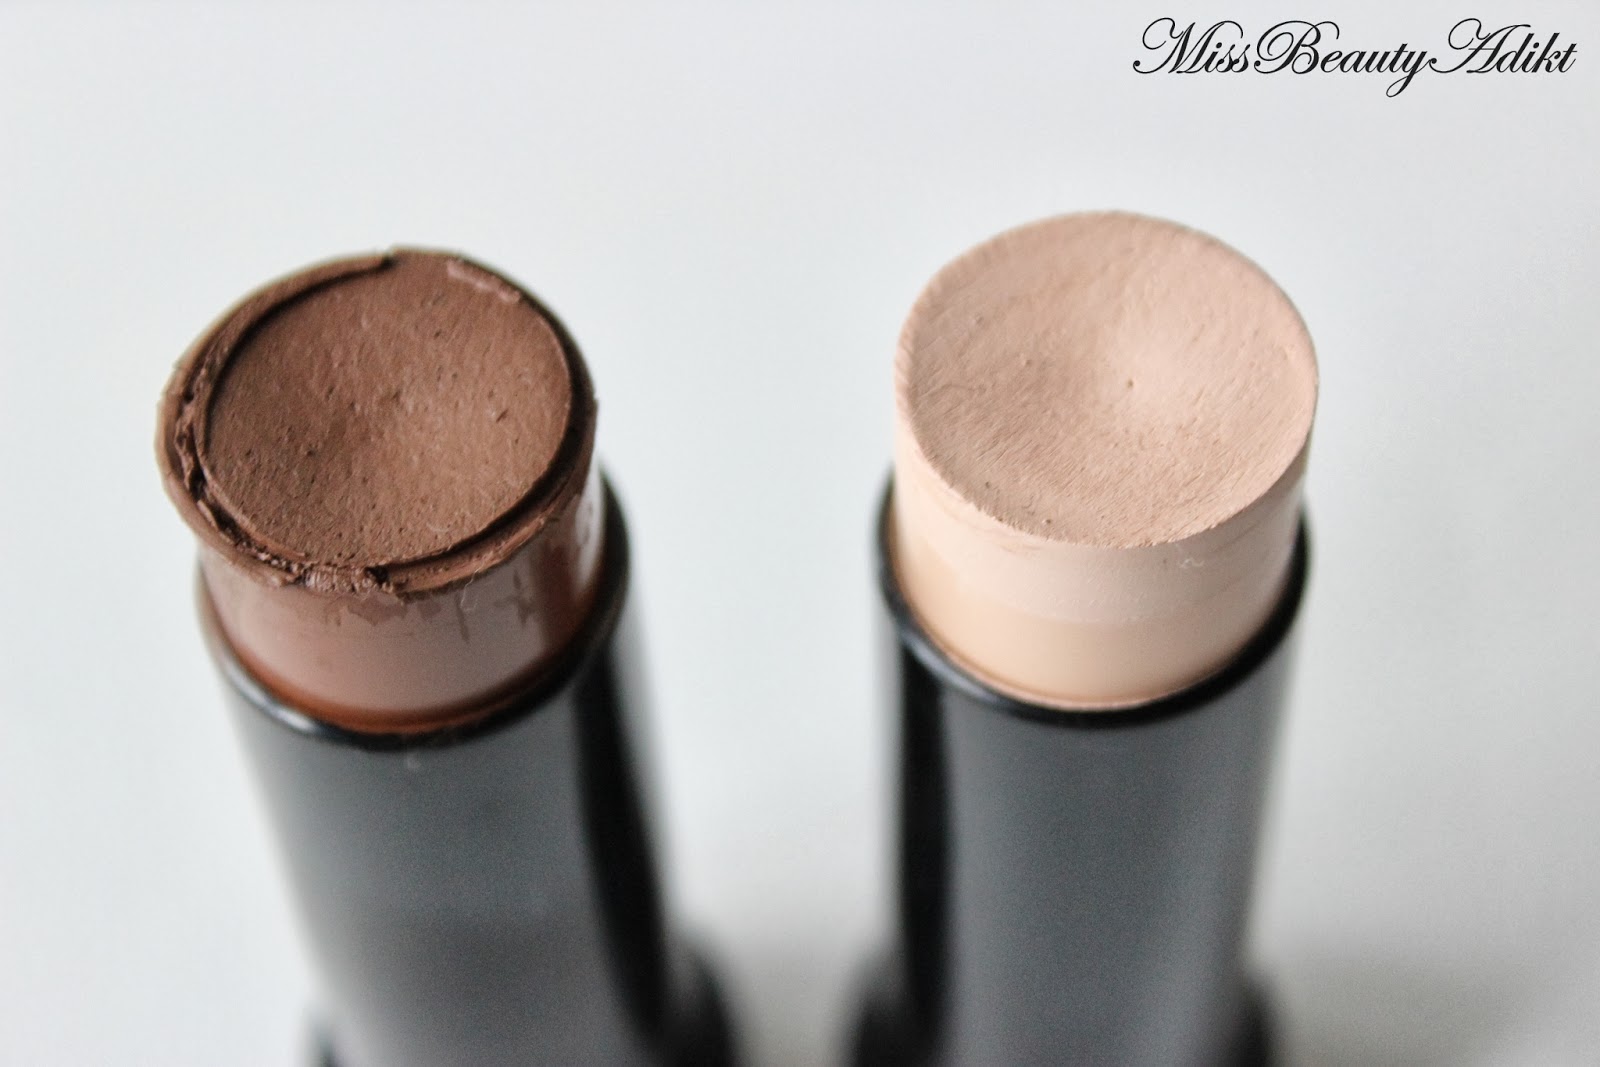
(Source: Miss Beauty Addikt)
Step 5:
Wash, dry and moisturize face, then apply skin primer.
View in gallery
(Source: Makeup & Beauty)
Step 6:
Apply your foundation. It’s a color that matches your skin perfectly. Make sure to apply the foundation evenly on your face.
View in gallery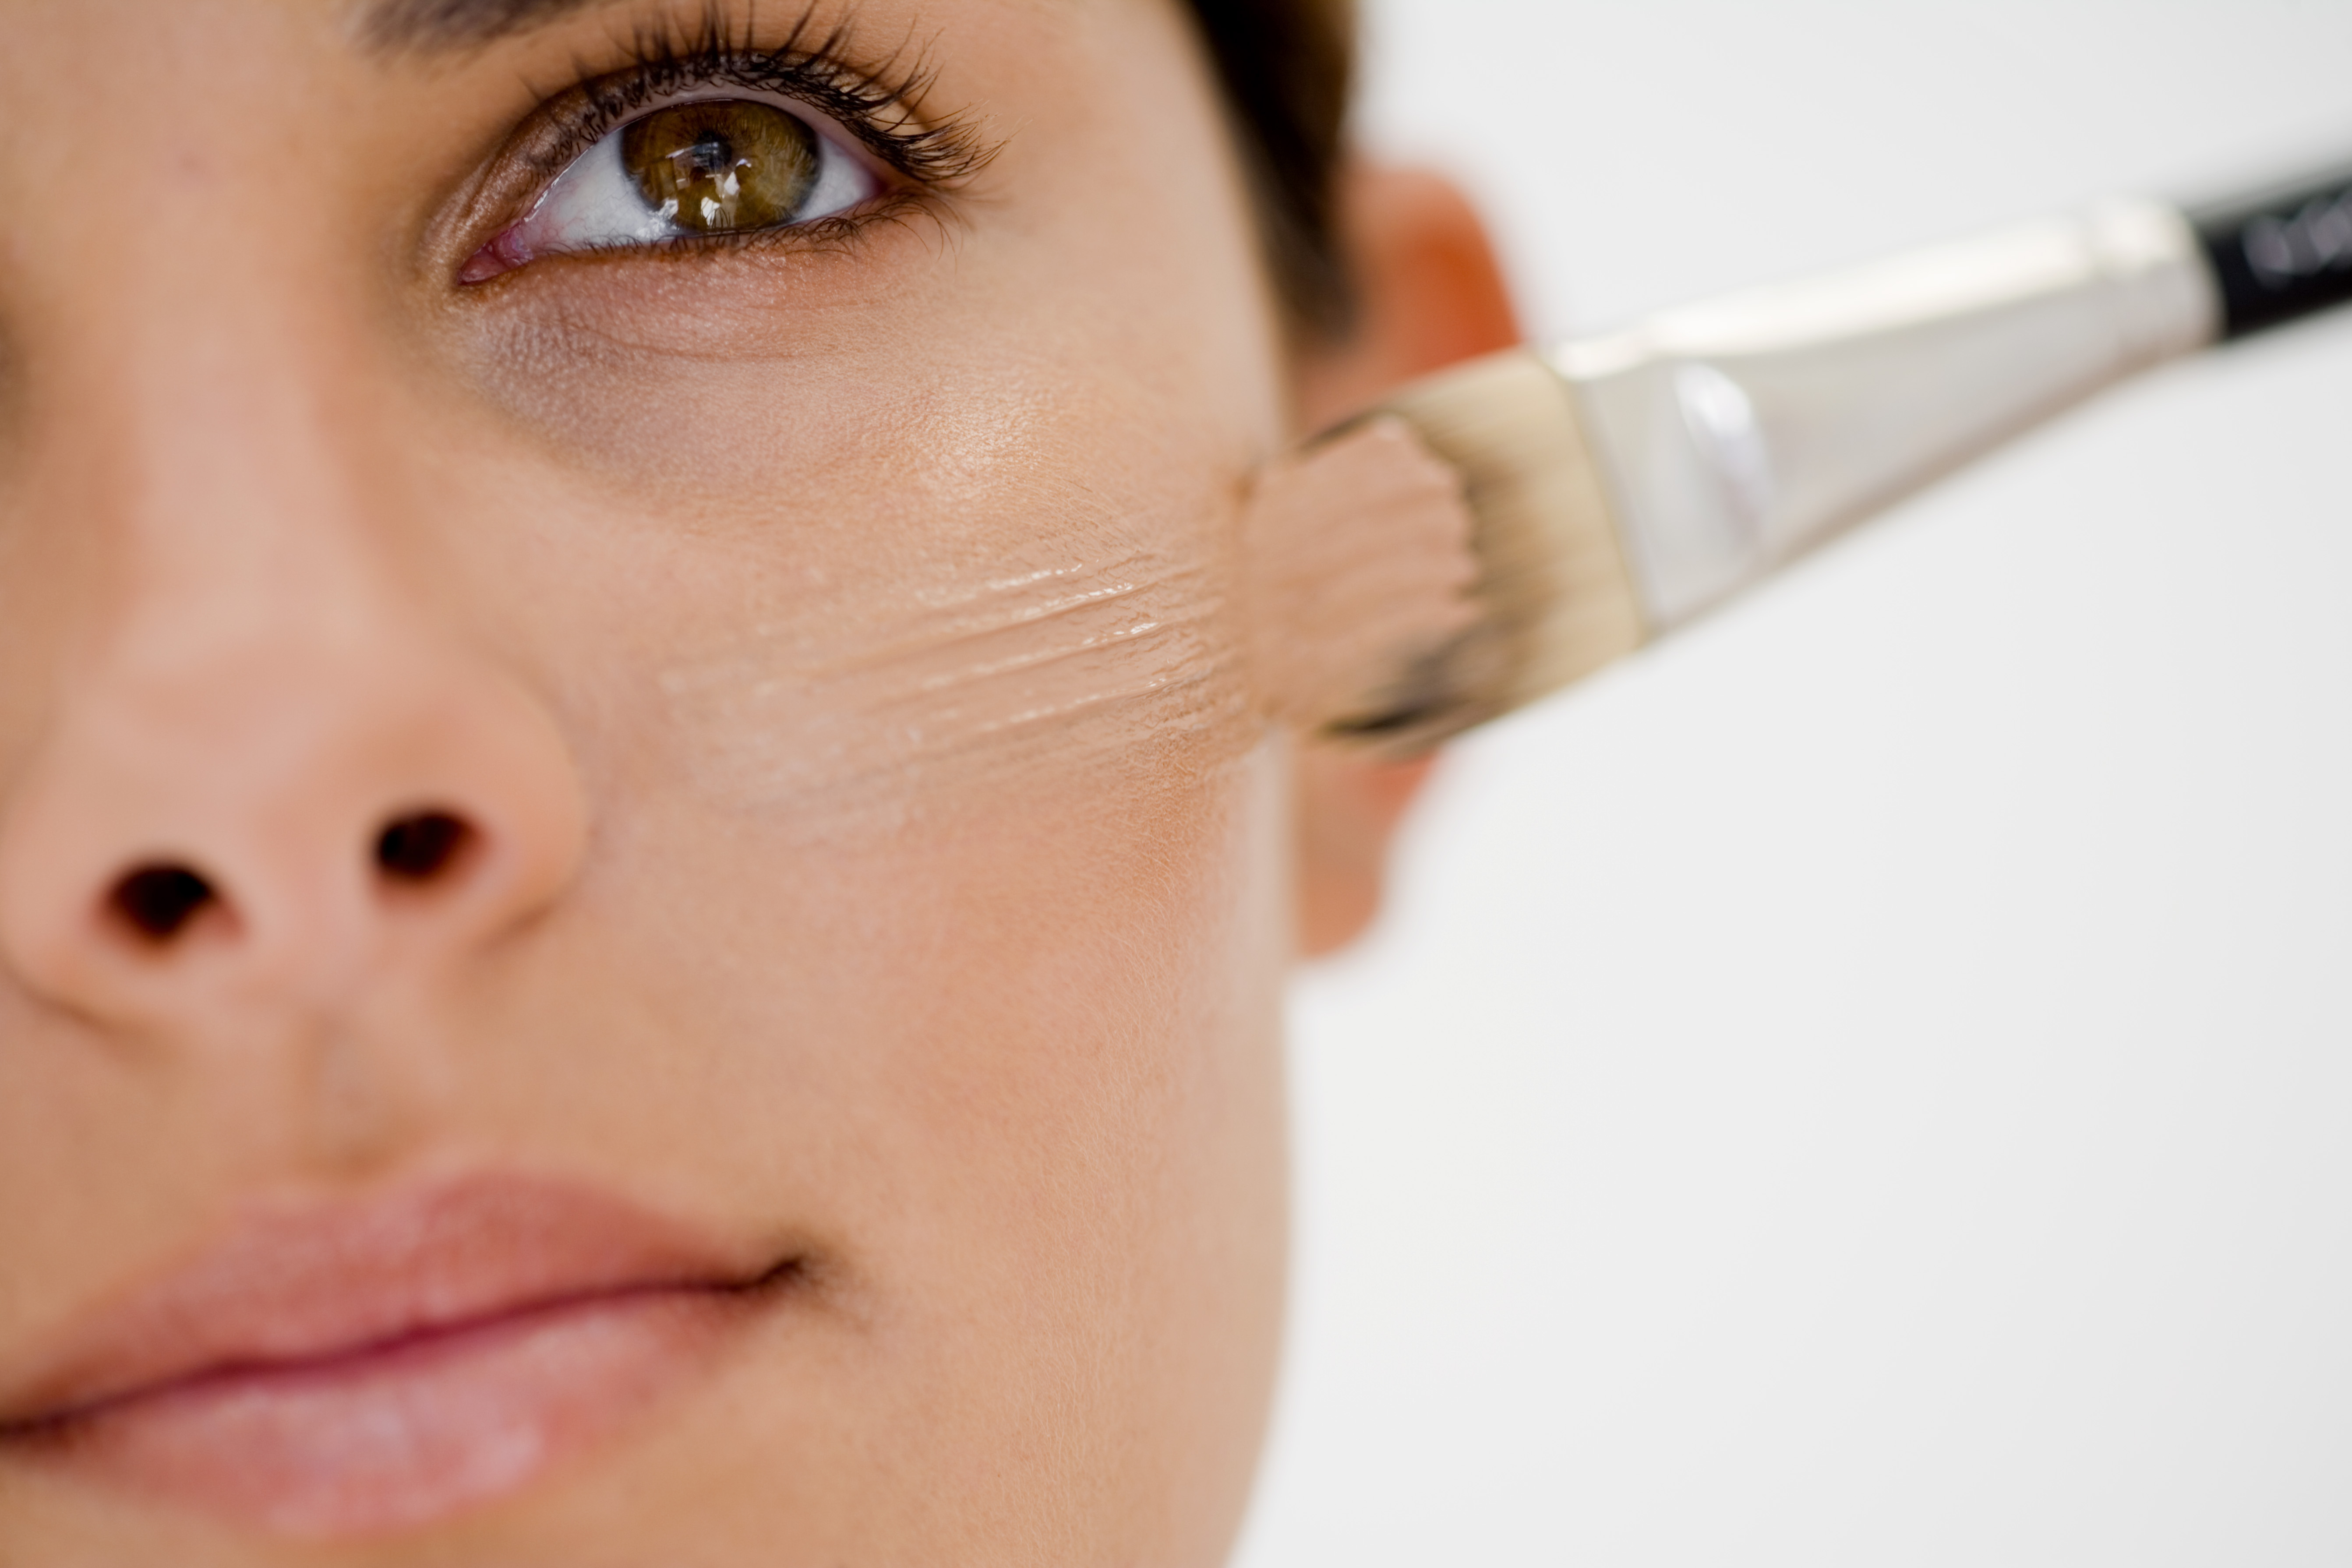 woman applying for base
(Source: Saffluence)
Step 7:
Set your foundation with translucent powder. This keeps your foundation from moving on the skin as you highlight and contour.
View in gallery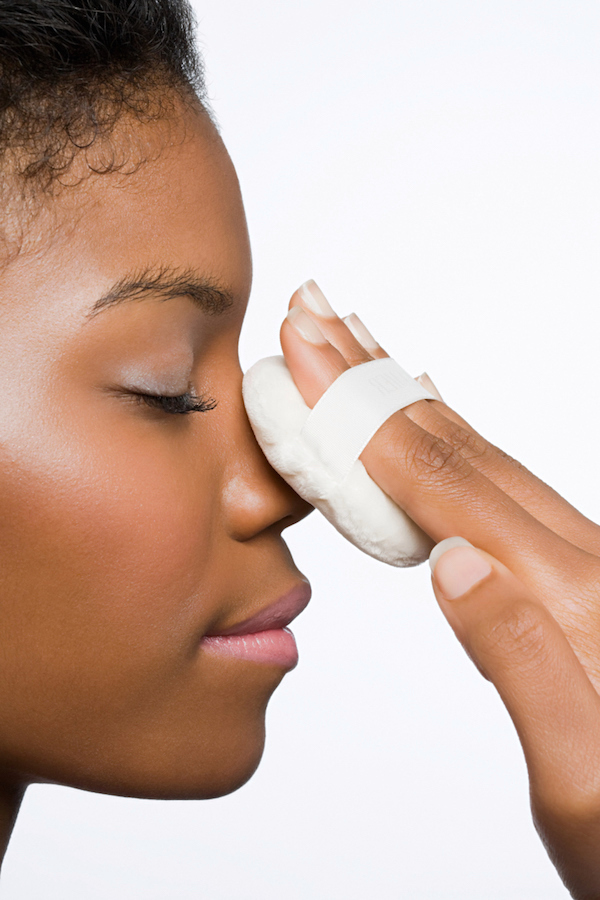
(Source: Stylecaster)
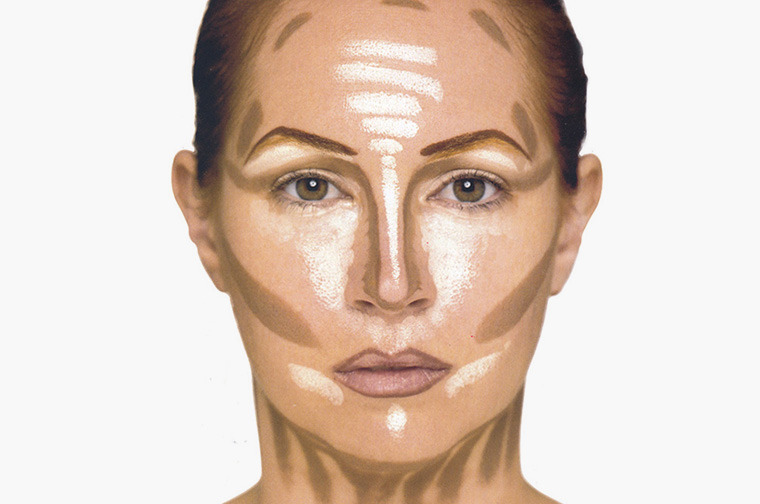
Step 8:
Use the outline color to draw shaded areas. This is a slightly darker color than your base foundation. Start with your chin. Draw a thin line that starts thicker at the back of the chin and extends towards the chin, which will soften the hard line.
View in gallery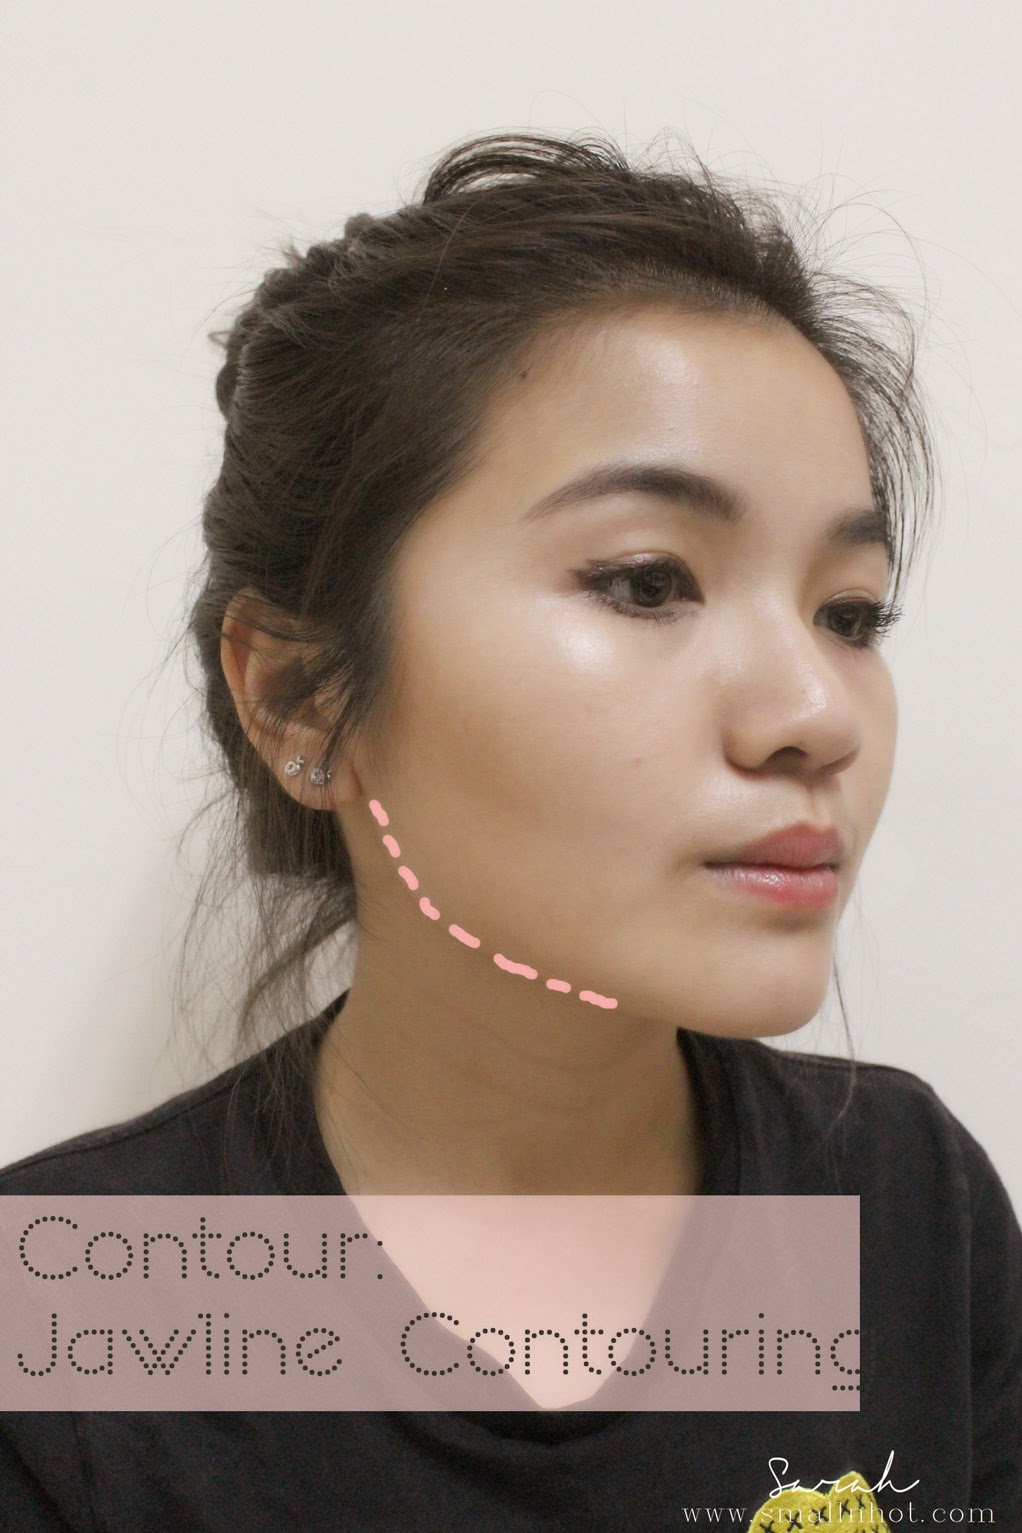
(Source: small n heat)
Step 9:
Draw the outline of your cheekbones. Just where your cheekbones stand out, draw a shape like a wide C, on the back of it turning your shape should taper near the center of the mouth and face.
View in gallery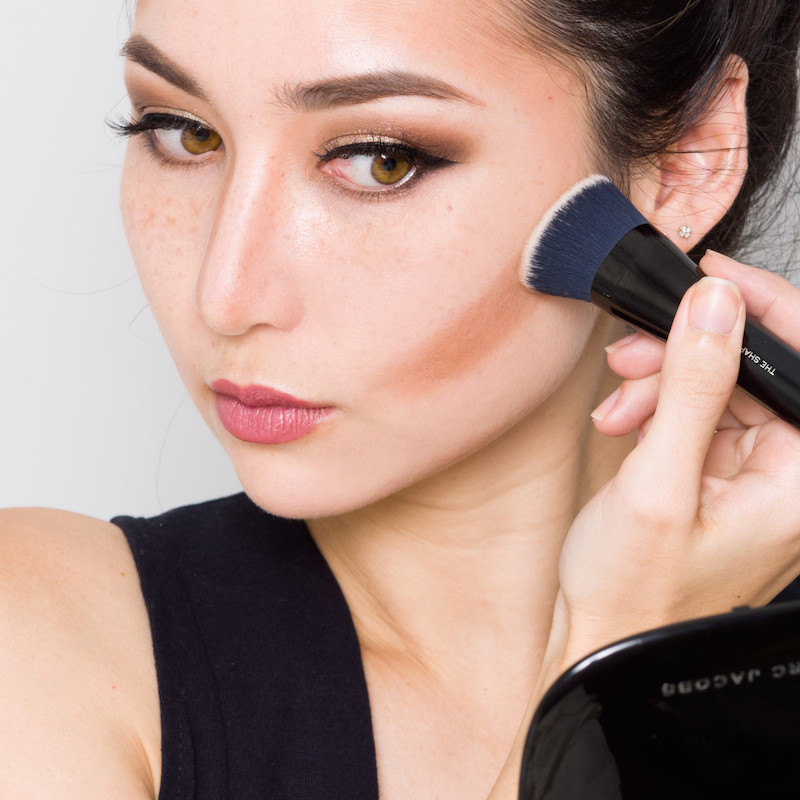
(Source: Emily Locke)
Step 10:
Draw the outline of your nose. Apply the shadow to the sides and ends of the nose, from the eyebrows to the tips, to shrink appropriately according to your face shape.
View in gallery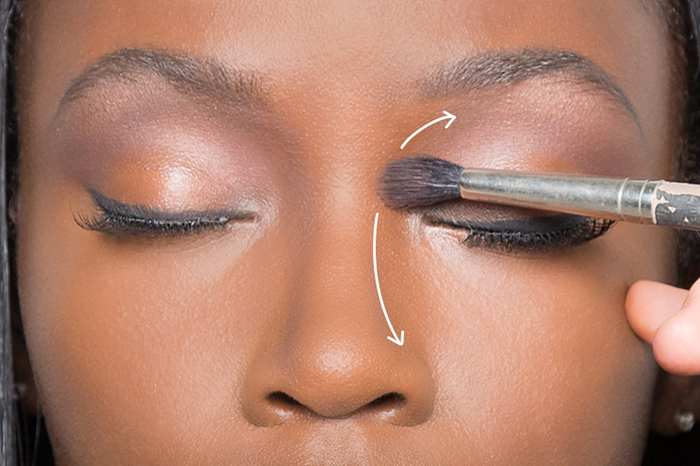
(Source: Angelica Ricardo)
Step 11:
Contour around the edge of the forehead to outline the face and blend into the hairline. If you have straps and your forehead won’t be seen, you have a very small forehead, concentrate on applying some contouring at the temples.
View in gallery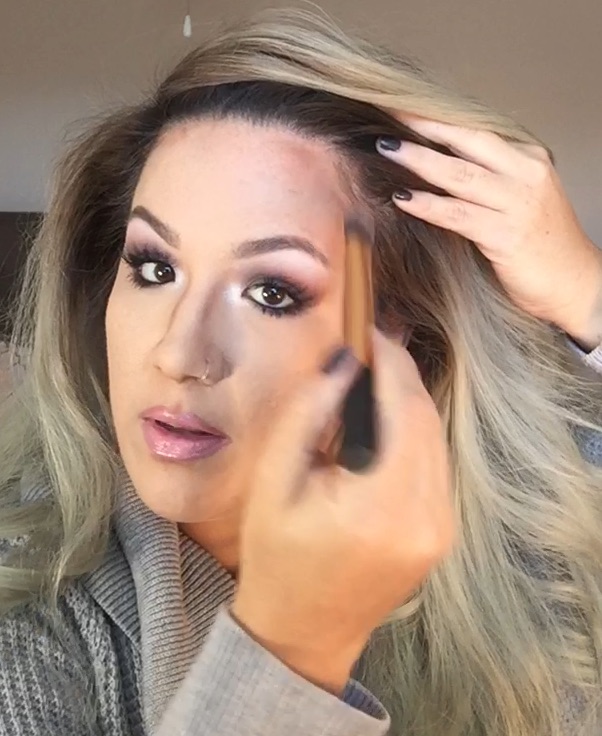
(Source: Beautify by Jen)
Step 12:
Draw your highlights. For this, use a lighter shade than your base. To apply highlights:
- at the tip of your chin
- on Cupid’s lips
- along the bridge and tip of the nose
- Inverted triangle under the eyes
- The center of the forehead from the bridge of the nose up
View in gallery
(Source: Alexandra’s Teen Talk)
Step Thirteen:
View in gallery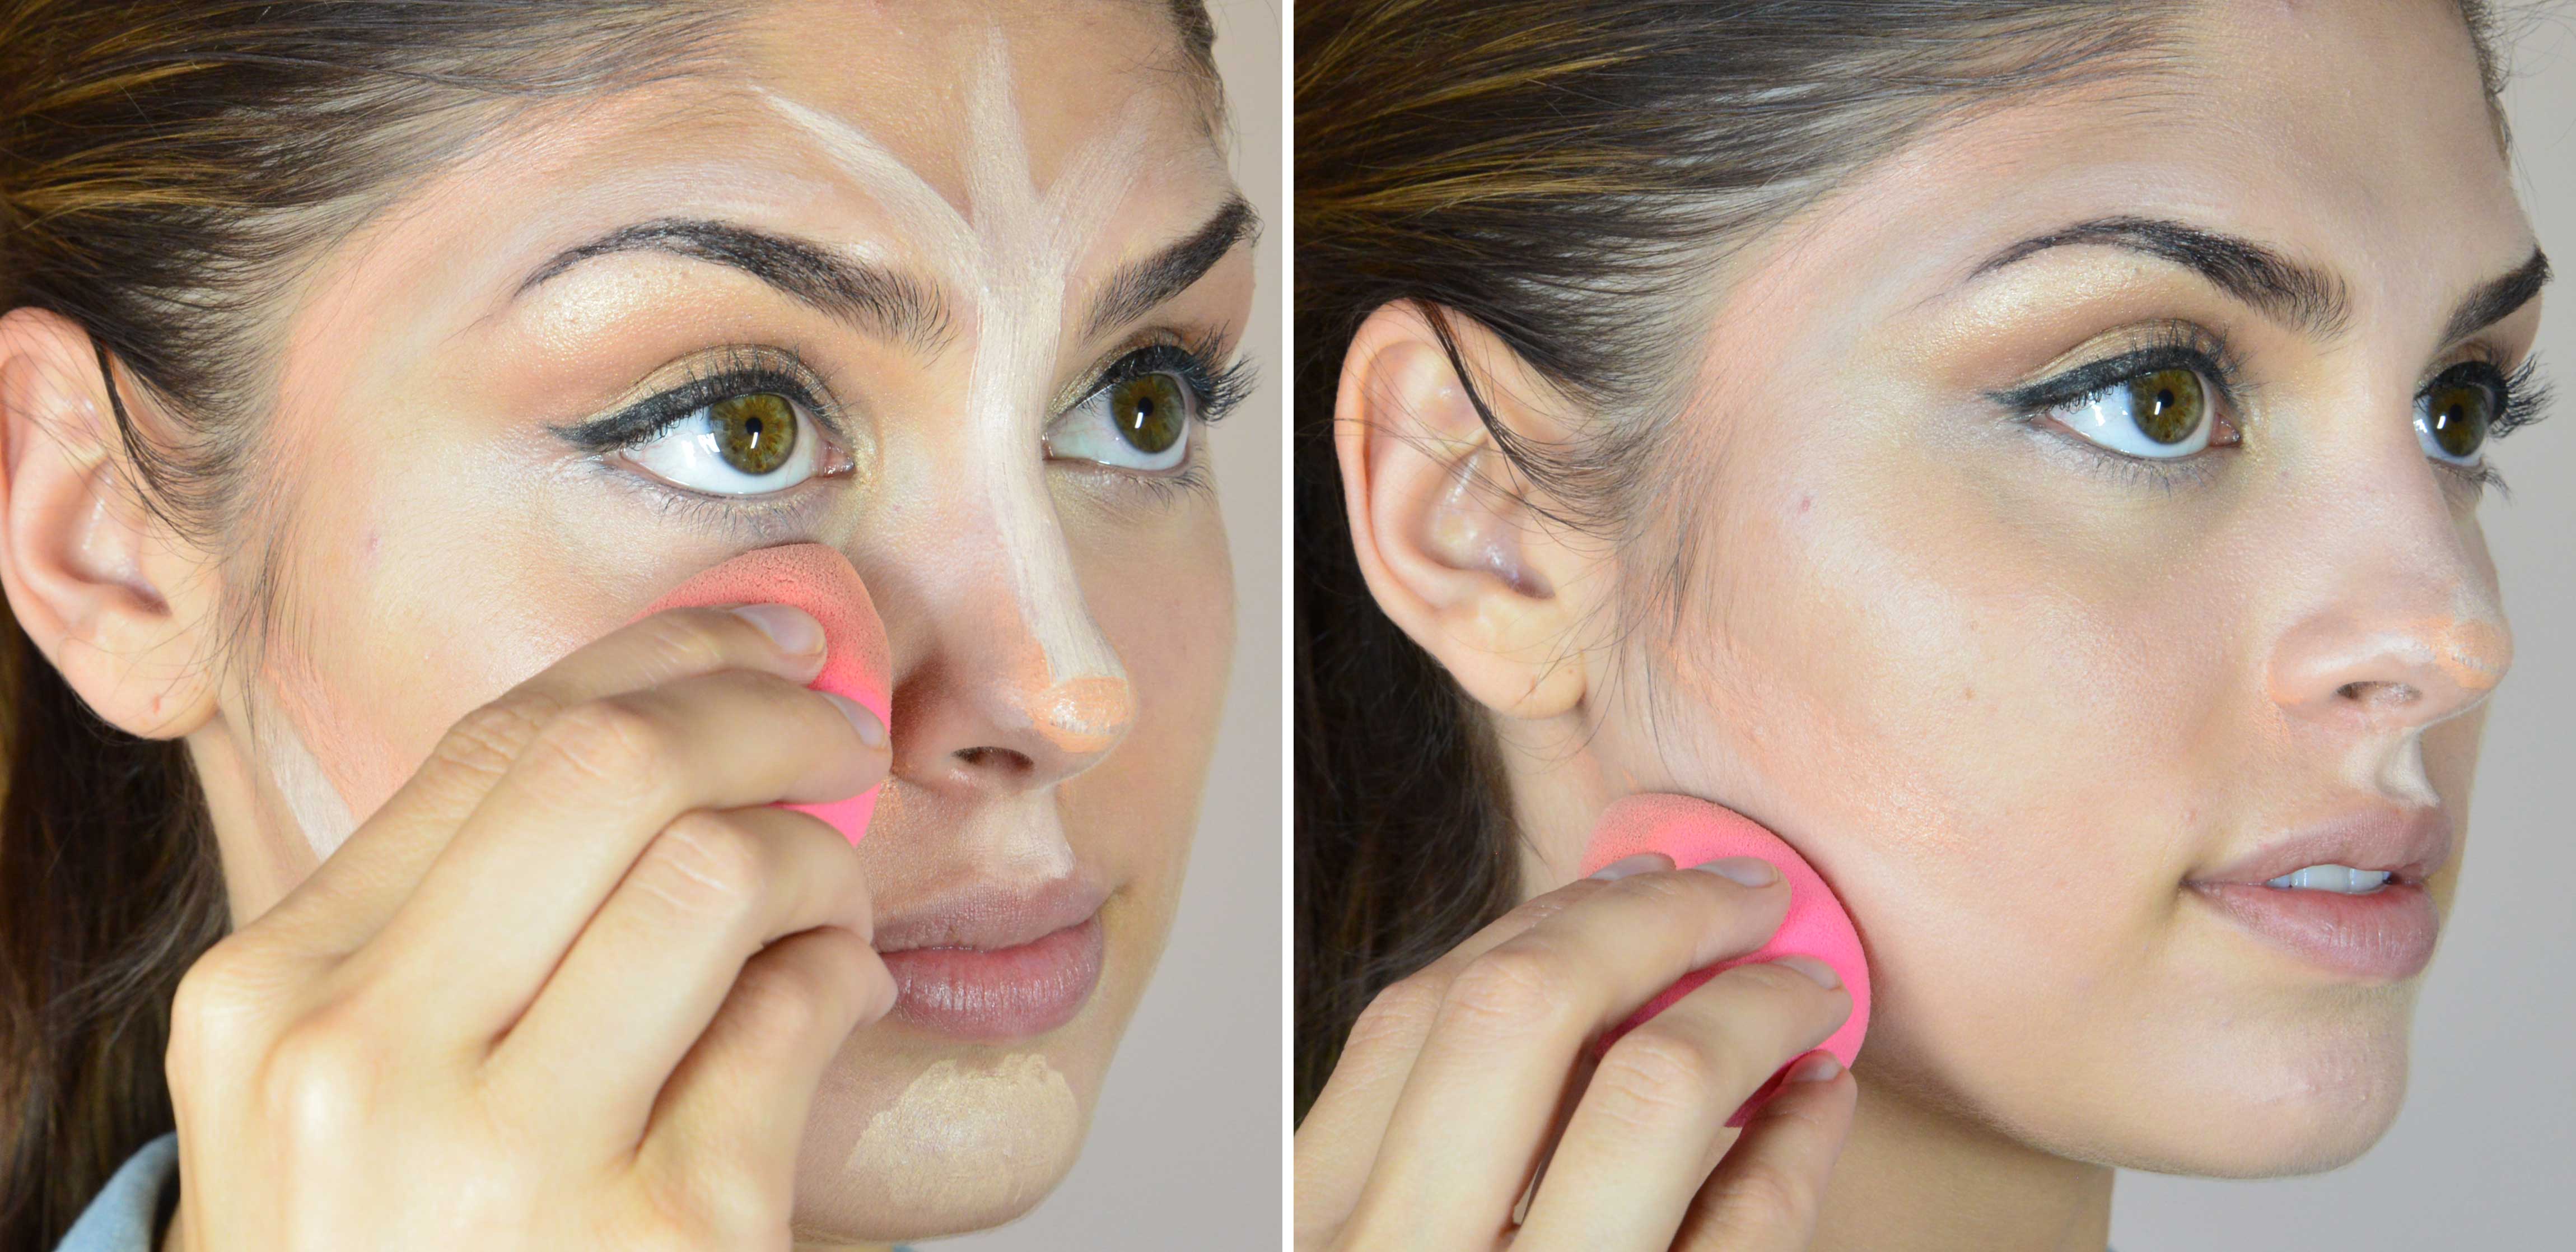
(Source: Miss Vixen)
Step 14:
If you use a cream or liquid foundation, use a translucent powder to set your foundation, highlight and contour. Continue with your blush, eyes and lips.
View in gallery
(Source: My Makeup Ideas)
Step 15:
Enjoy your new silhouette look!
View in gallery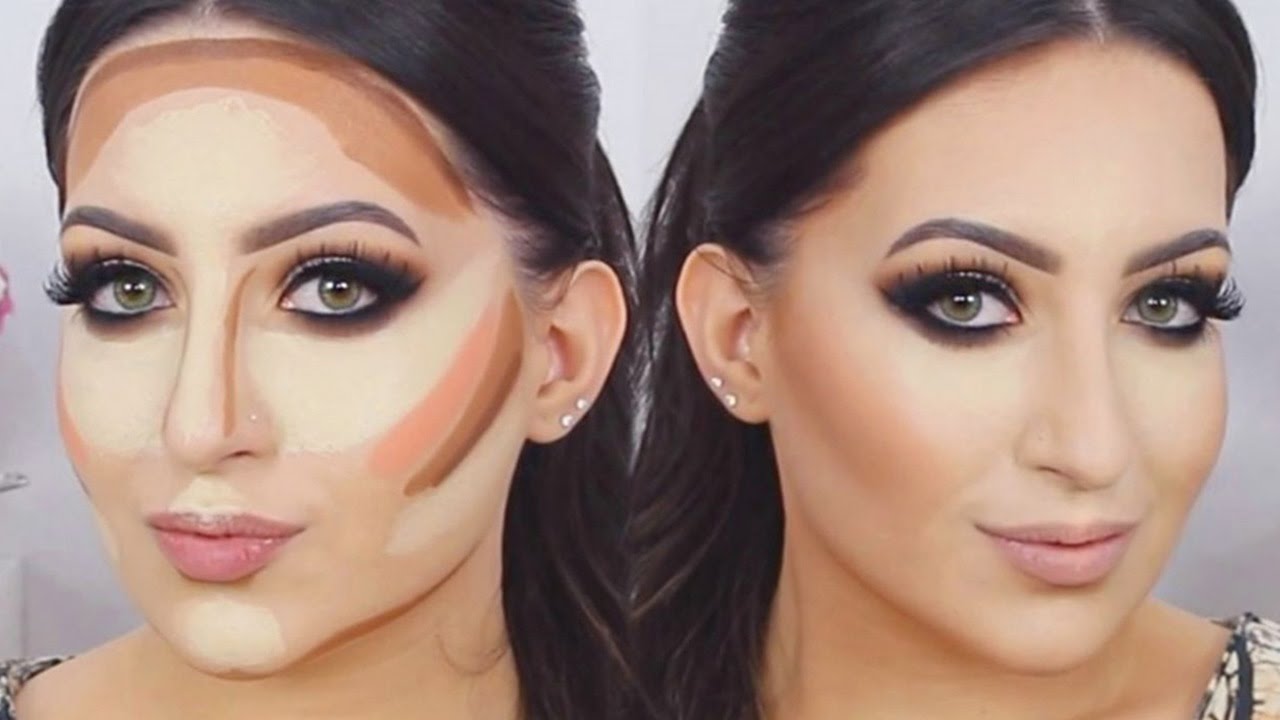
(Credit: Melissa Samwise)
Do you know anyone interested in practicing their contouring techniques? Help them by sharing this article with them!
Discover more articles in our categories DIY Home & DIY Projects & Tips & Crafts .
Thanks for visiting we hope our article How to Do Basic Outlines Efficiently
, think about share the article on Facebook, pinterest and whatsapp with the hashtags ☑️ #Basic #Outlines #Efficiently ☑️!