DIY Easter Bunny Party Hat Celebration
🖥️
In my house, literally any Holidays are a great excuse for kids to play dress up! If I’m completely honest, they don’t actually even need an excuse, but when there is a seasonal theme that can work in their regular, rather crafty costume effort, things are always a little extra fun.
This is why I like to find ways to help them make their own works to celebrate different holidays, seasonal changes, etc. Easter is no exception.
One of my children actually celebrated his birthday before Easter and made all kinds of fun things for the party, including birthday hats, so that all of us were talking about if there was a fun party hat to wear Every occasion. This is how these cute Easter bunny themed party hats were born!
View in gallery
View in gallery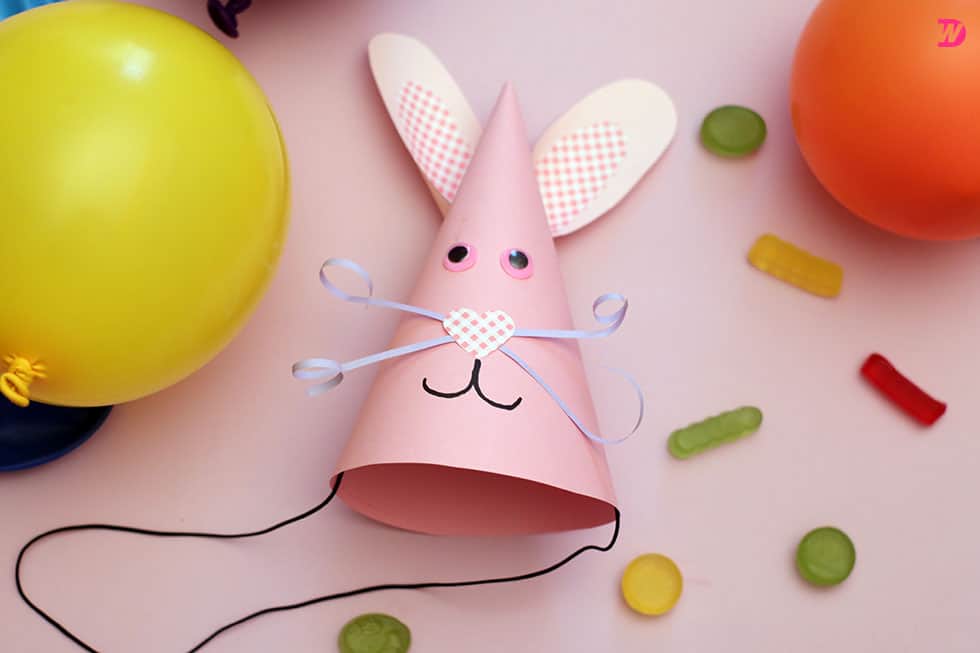
Of course, I know I’m just have Record the process of making these the moment I finished the first one and saw how much my kids liked it. That’s why when the kids started begging me to make more, I decided to create a tutorial for other craftsmen to learn! Now we have made enough preparations for everyone who comes to our Easter dinner.
Check out these step-by-step instructions with photos! If you prefer to follow video tutorials instead of written text, please scroll to the bottom of this article to find what you are looking for.
View in gallery
View in gallery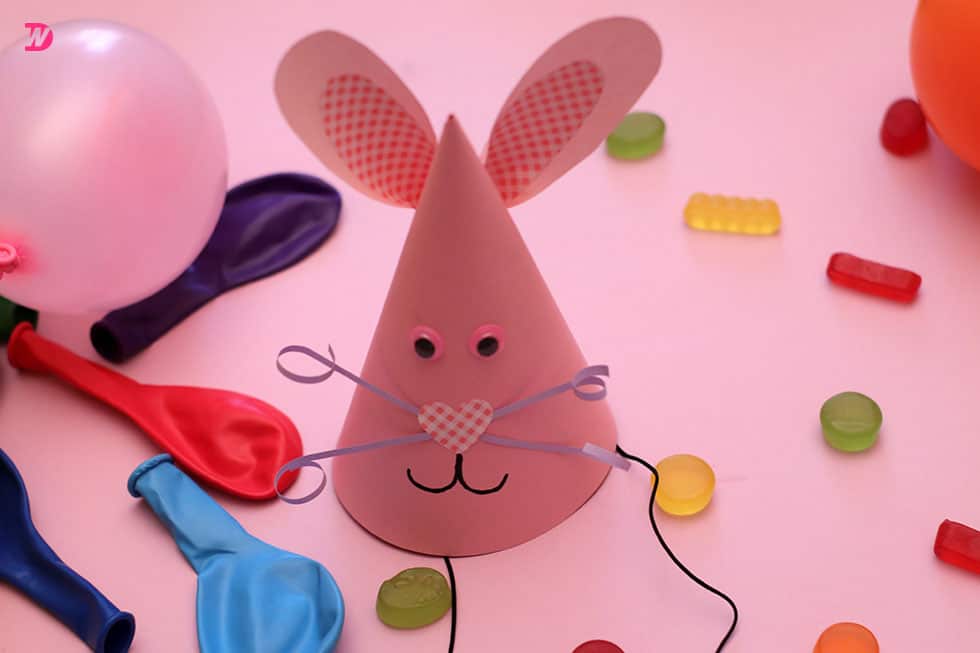
For this project, you need:
- Cardstock (light pink)
- Drawing paper (white, checkered pink and lavender)
- A glue stick
- Scissors
- pencil
- Slimy eyes
- Elastic rope
- yarn
- A black marker
step 1:
Collect your materials!
View in gallery
Step 2:
First, flip your pink cardstock sideways so that the long sides are the top and bottom, and the short sides are the sides. Now, cut a yarn that is the same length as the long side of the pink card page. Fold it in half so that the two ends meet evenly and form a loop at the midpoint of the rope. Hold the two ends tightly together, hold the pencil in the other hand and place it on the looped end, then straighten the yarn and straighten it between your hands.
Now, place the tip of the pencil on the upper left corner of the pink page and use your thumb to fix the end of the yarn at the center point of the top edge of the page (should be measured in the middle between the corners). Carefully bend the pencil down, move across the page in an arc, and then back to the diagonal; the tension and control of the yarn will help you draw an accurate measurement or even a semicircle.
View in gallery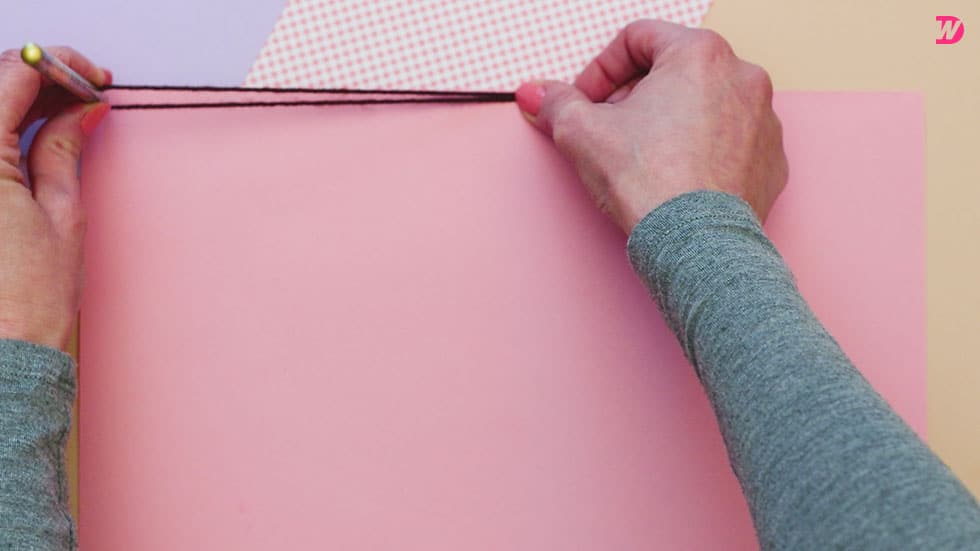
View in gallery
View in gallery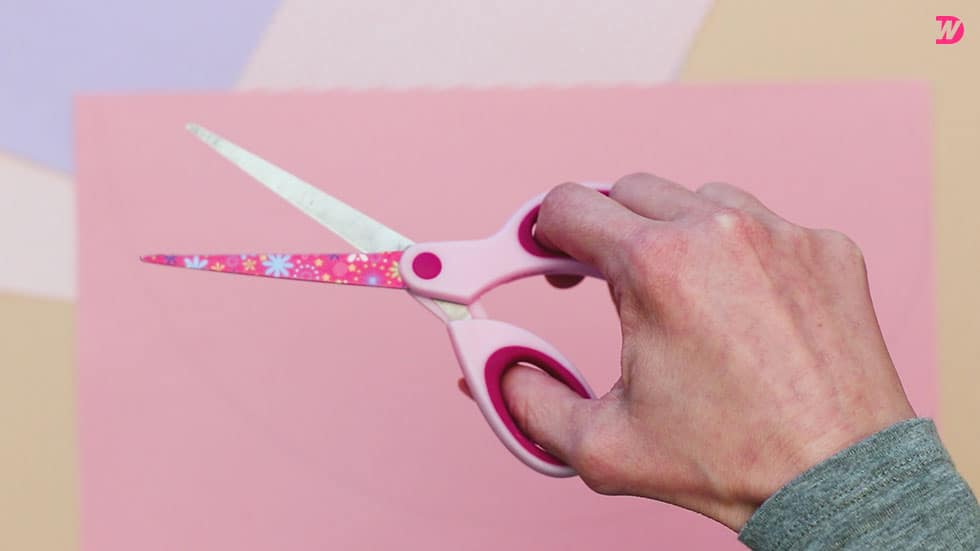
Step 3:
Cut the pink semicircle along the pencil line you just drew on the cardstock. This will be the basis of your actual hat.
Step 4:
Hold your pink semicircle so that the straight side is at the top and the round side is at the bottom, curl the corners toward you, facing each other down, and then down so that they meet each other and the round side at the bottom and create an opening at the top point.
Then cross one corner over the other and start to overlap them, pulling one corner further along the bottom edge of the inner side and the other on the outer side. This will close the opening at the top and form a real point, while the bottom becomes a circular opening.
You now have an ordinary pink tapered party hat! Use a glue stick to apply glue to the outer corners and vertical edges to keep the cone cap curled in place. Put it aside for a while.
View in gallery
View in gallery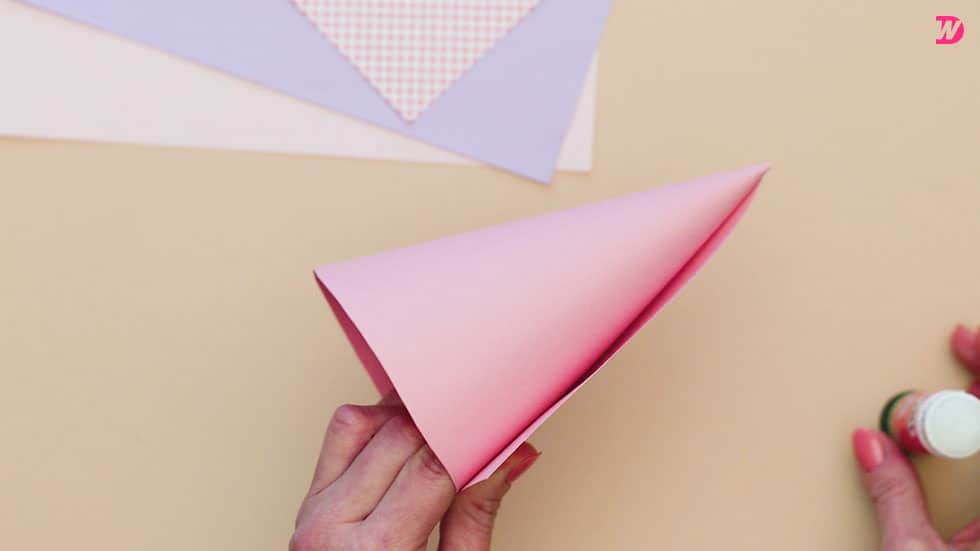
View in gallery
Step 5:
On your piece of white paper, draw the shape of a bunny ear with a narrow and flat bottom edge, and a high edge that widens toward the top of the circle. Draw the second ear on the same side. Now, take your pink and white graph paper and draw two more ears with the same shape as your white ears, but smaller this time. These will be superimposed on top of the first one to make the pink inner ears of the Easter bunny. Finally, draw a heart shape about half an inch high and half an inch wide on your pink and white graph paper. Cut out all these shapes.
View in gallery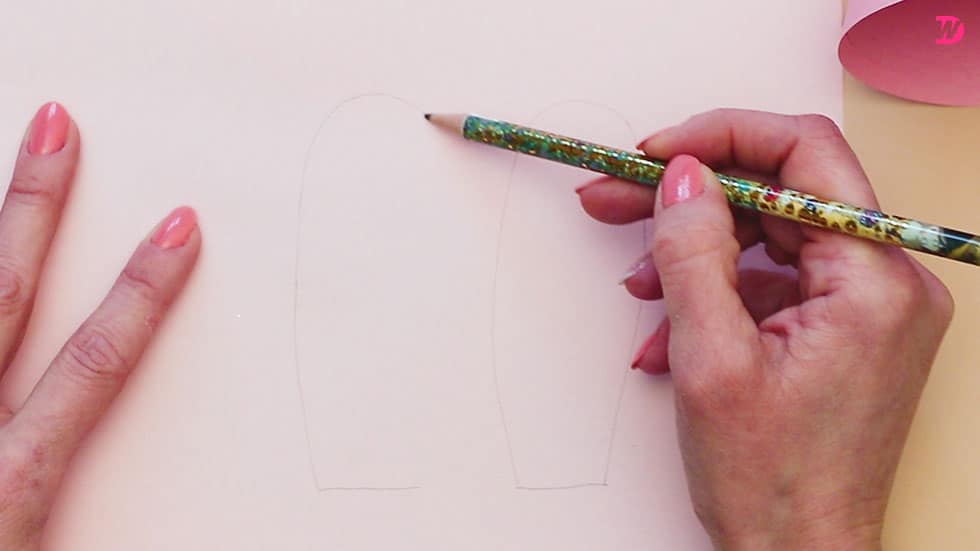
View in gallery
View in gallery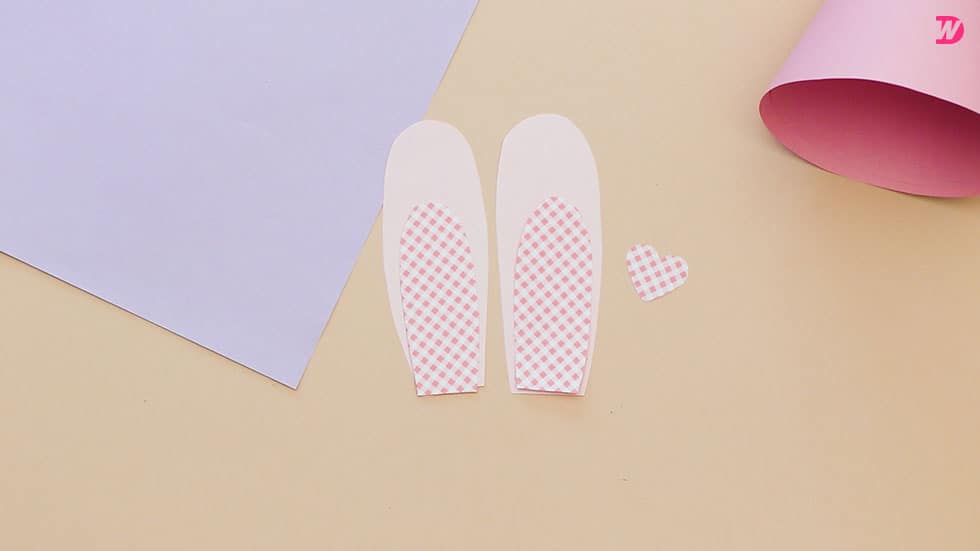
Step 6:
From one short edge of the purple paper, cut two very thin strips from bottom to top, each less than one centimeter wide. Clamp the paper about 1 inch from the end with one hand, then move your thumb nail down to the tip and press hard to get the effect, but don’t tear the end too hard, so that the end of each strip Curly striptease. These two curly stripes will become the whiskers of your Easter bunny!
View in gallery
View in gallery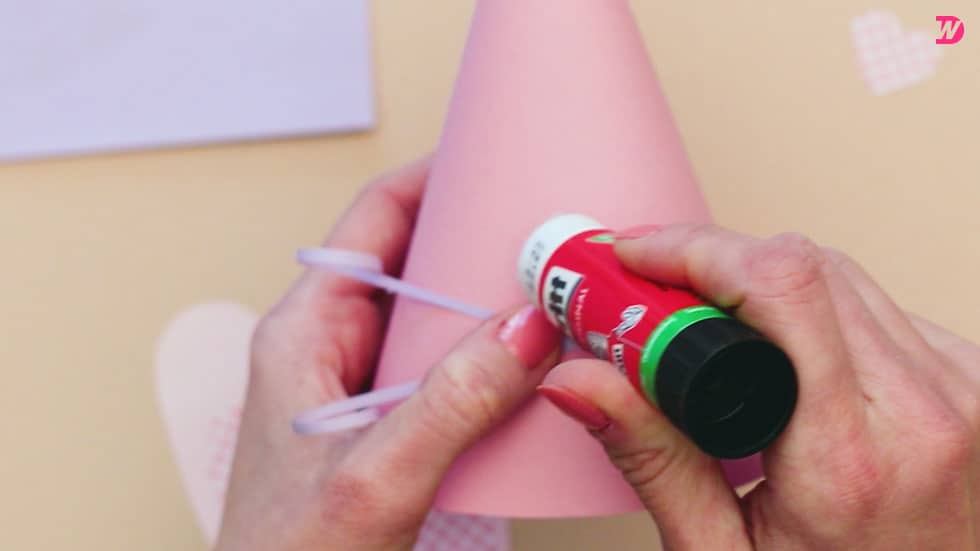
Step 7:
Choose a center point to fix the Easter bunny’s face around, and then use a glue stick to apply a little glue there. Place your beards at their center point, they are slightly crossed together like a small X, so that the curled ends stick out at a lovely angle on each side. Then stick your heart-shaped nose directly above the center point of the overlapping beard.
View in gallery
Step 8:
Apply glue to the back of the pink and white grid inner earmuffs, and then glue them to the center of the larger white earmuffs so that the white will emerge from the pink edges like a border. Then curl the bottom corners of each newly layered ear to each other to form a dot, just like you did with the pink hat before, and glue them together to overlap each ear. Your ears now have pointed ends instead of flat edges.
View in gallery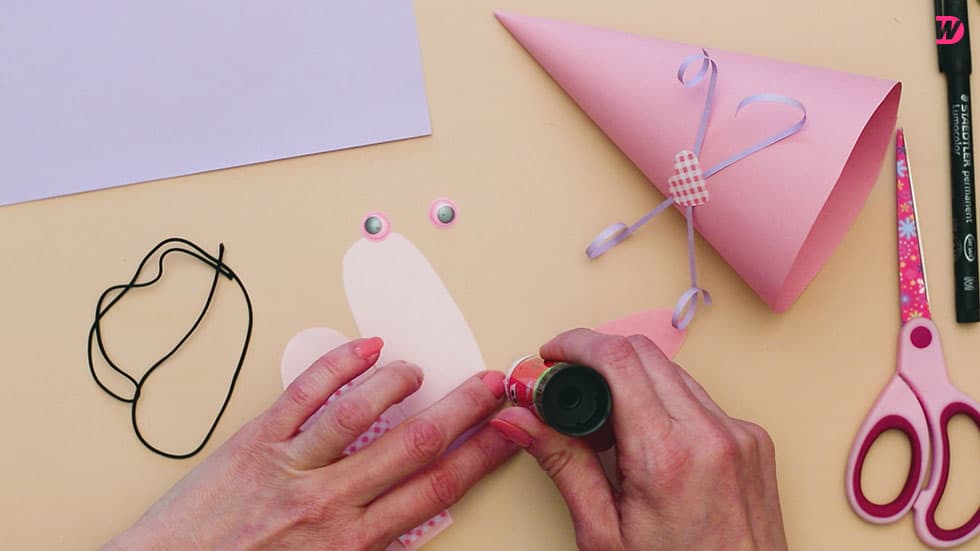
View in gallery
View in gallery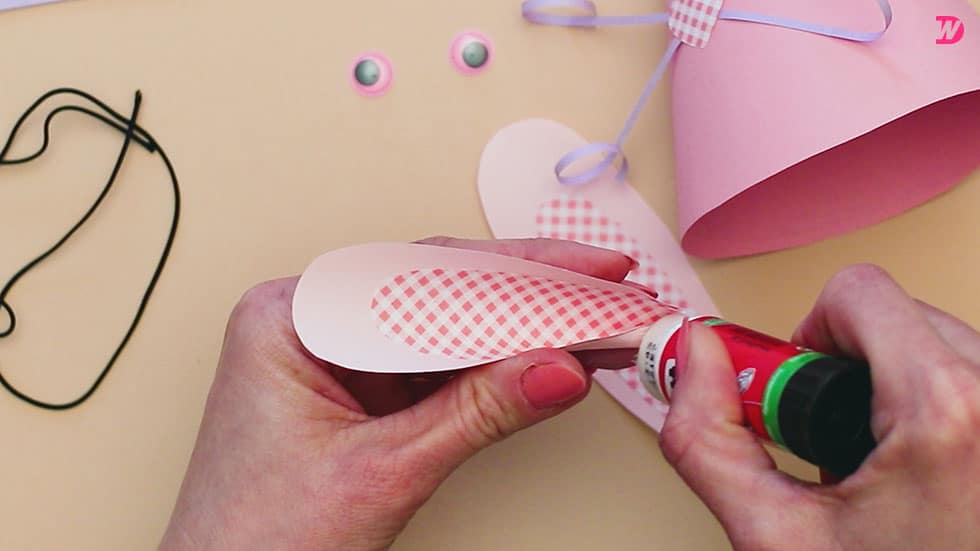
Step 9:
Turn your pink hat around so you can see the back, on the side opposite the seam, opposite where you just stuck your nose and beard. Apply a piece of glue of the right size near the top of the hat, just above the midpoint of its height. Glue your ears here by sticking the front part of each curled bottom in glue so that the pink inner ear faces the other direction, away from you and towards the other side of the hat. Tilt them slightly so that they stick out to the other side at a lovely angle, just like the rabbit is really happy.
View in gallery
View in gallery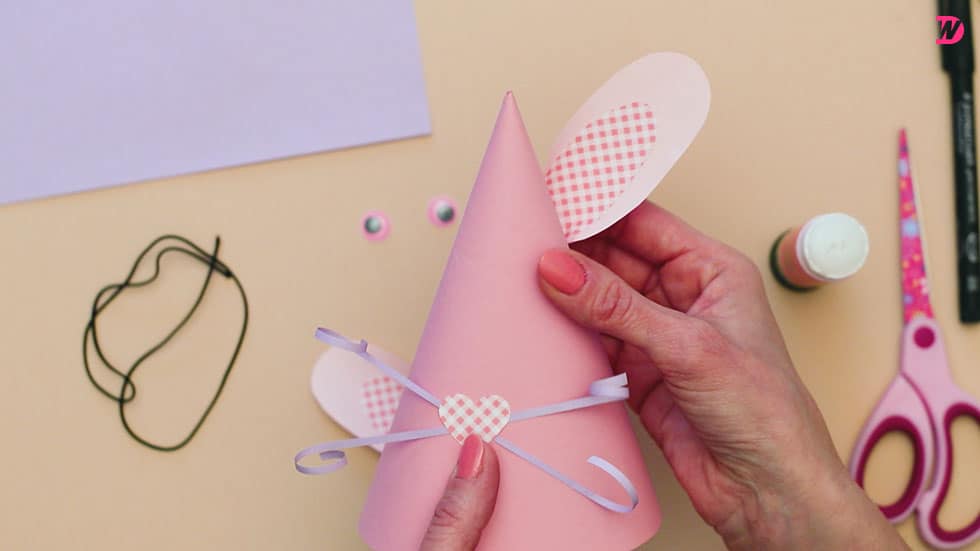
View in gallery
Step 10:
Turn the hat back and apply glue behind your slimy eyes, then stick them above the nose but below the ears.
View in gallery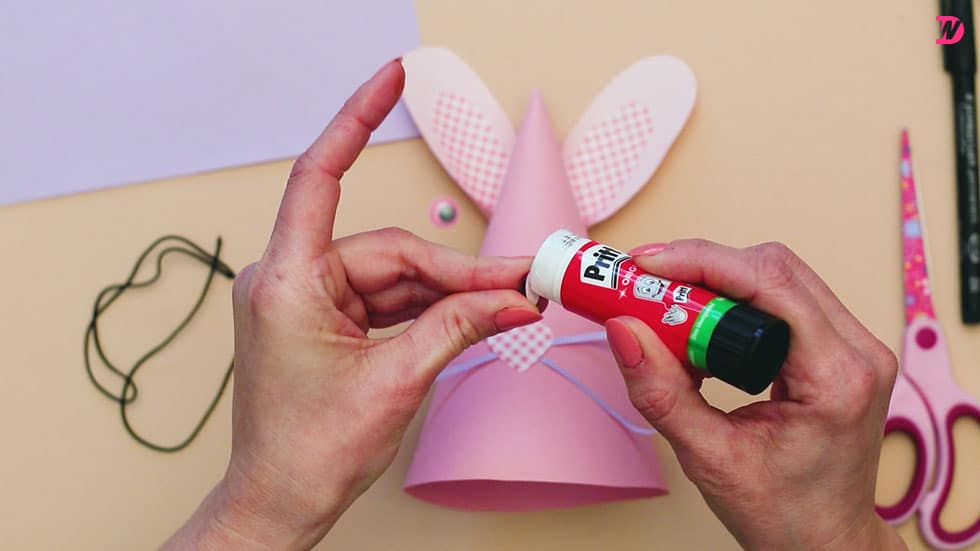
View in gallery
Step 11:
Draw from the tip of the heart-shaped nose downwards and then bend outwards. Use a black marker to draw the rabbit’s mouth like a smile.
View in gallery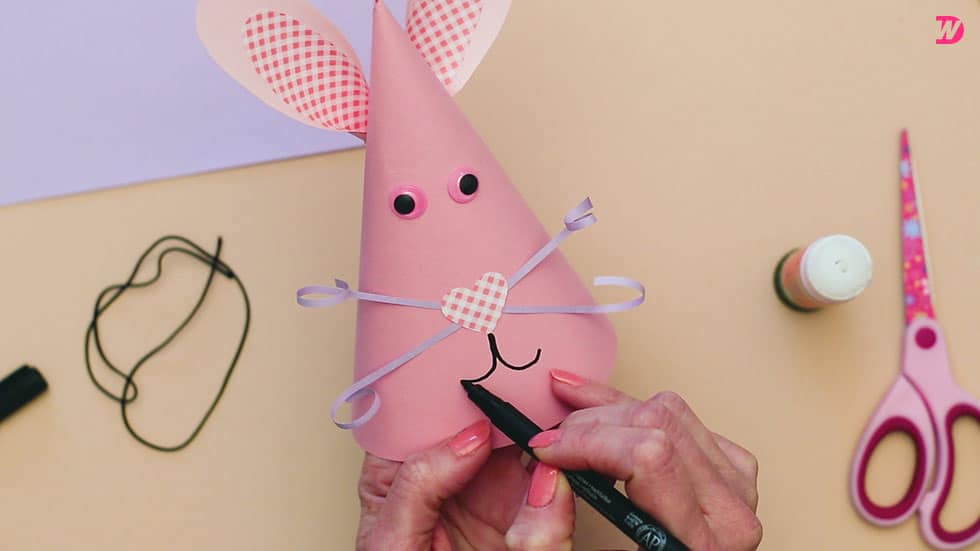
Step 12:
Cut a piece of elastic rope that needs to be as long as it needs to be, loop it from one side of the child’s head (or your own, if you also like to play) to under their chin, and then loop back about their temple from the other side. Then turn the Easter bunny hat over so you can see the inside of the cone and apply glue on each side, about an inch higher than the bottom edge of the circle. Glue the two ends of the elastic rope there, make it bend downwards, it can fit the face easily, but it will not be too loose.
View in gallery
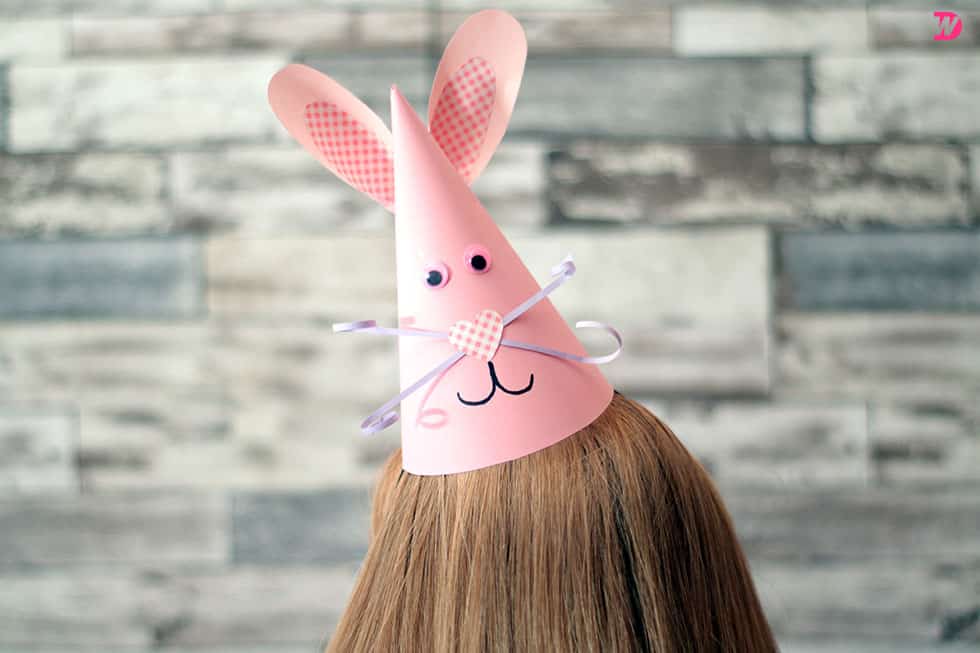
Your Easter Bunny Party Hat is officially ready! Of course, if the soft theme I choose is not too springy or bright enough to suit your taste, you can use colors, details and decorations as you like.
View in gallery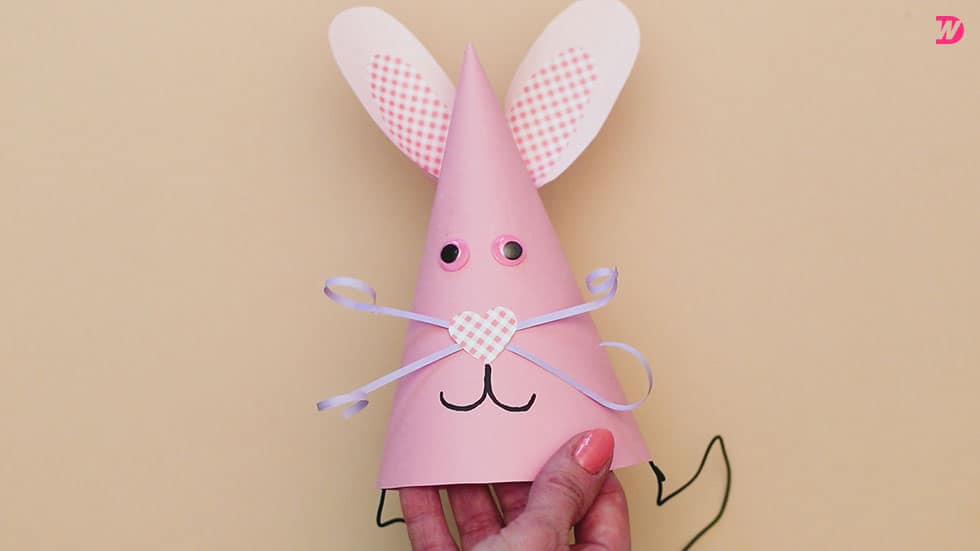
Just in case you want to try this project yourself, here is a great tutorial video to help you!
Easter bunny party hat [Video Tutorial]
Check more articles in our categories DIY Home & DIY Projects et Tips & Crafts .
Thanks for visiting we hope our article DIY Easter Bunny Party Hat Celebration
, we invite you to share the article on Facebook, pinterest and whatsapp with the hashtags ☑️ #DIY #Easter #Bunny #Party #Hat #Celebration ☑️!