
How to make a window seat for your kitty
🌐
Every cat owner knows how much their kitty loves sitting by the window. If the window is open, they can watch the birds there and feel the wind blowing through their fur. Especially for cats who only stay indoors, sitting by the window can be a big part of a cat’s well-being and understanding of the world around him. But what if your house or apartment doesn’t have a window sill big enough for your cat to sit comfortably on?
View in gallery
DIY showing off has the answer! Their great tutorial already lays out the process in simple steps, but for those who need some extra help, we’ve broken down the steps further.It’s time to start using Window seat for kittens!
step 1:
Choose a window sill in your home that can support the type of ledge bracket shown below. You need a lot of blank wall space under one window.
View in gallery
Step 2:
Gather your materials. you need to:
- an old tray
- An old pillow (about the same size as the tray)
- 2 shelf brackets
- scrapbook paper or a piece of leftover wallpaper to arrange the trays
- Screws and Drills
- eye hook
Step 3:
Sand the bottom of the tray to remove old paint or stickers. Next, measure a piece of wallpaper on the bottom of the tray and cut it to size.
View in gallery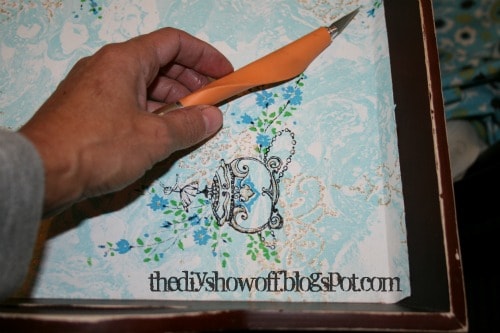
Step 4:
Use decoupage glue or Mod Podge to hold the paper smoothly to the bottom of the tray.
View in gallery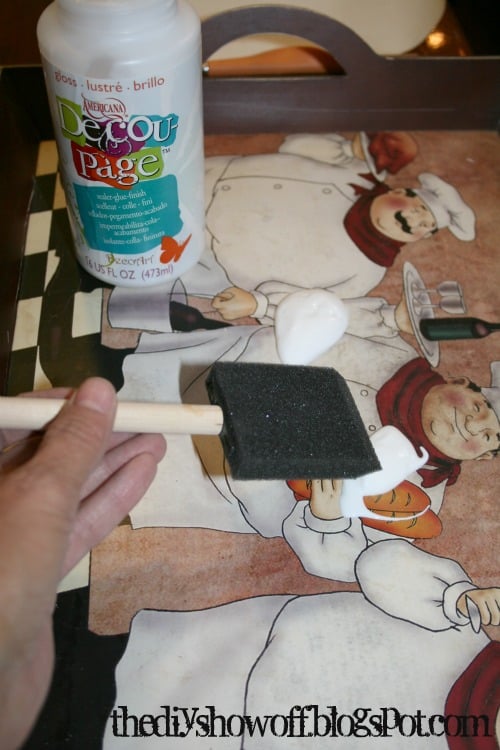
Step 5:
Stack your fabric (preferably with the right sides facing each other), place the pillow on top, and cut out a nice-sized rectangle, but leave an extra two inches for the seam.
View in gallery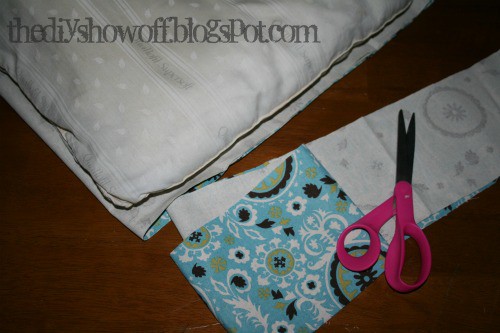
Step 6:
Sew the edges of the fabric under an inch and sew them together. This will make your pillow cleaner and more durable.
View in gallery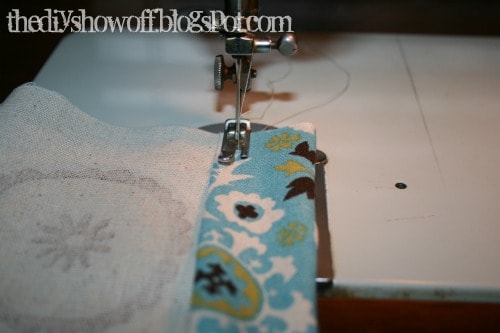
Step 7:
Again, adjust the pillow size to the fabric to make sure there is still enough margin around the edges to close the pillowcase without making it too small to fit.
View in gallery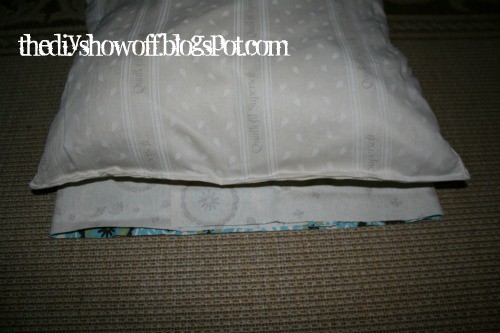
Step 8:
Keeping the right sides facing each other, sew each edge together except the shorter side.
View in gallery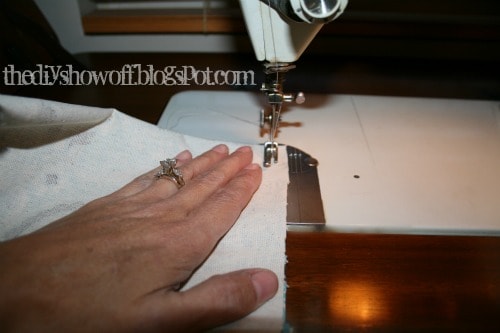
Step 9:
Put your pillow in a brand new box!
View in gallery
Step 10:
Drill a small hole near the outer edge of the tray, on the side facing away from the window.
View in gallery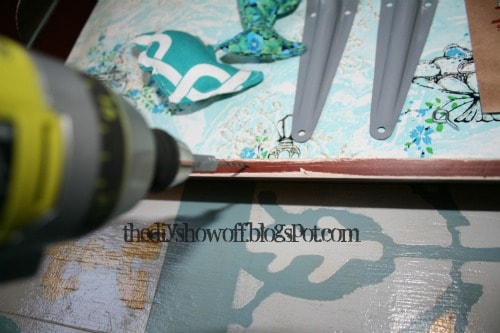
Step 11:
Thread the eye hook into the hole to thread the string with the toy through. Make as many of these toy anchors as you want.
View in gallery
Step 12:
Measure the position of the brackets and pre-drill holes in the wall.
View in gallery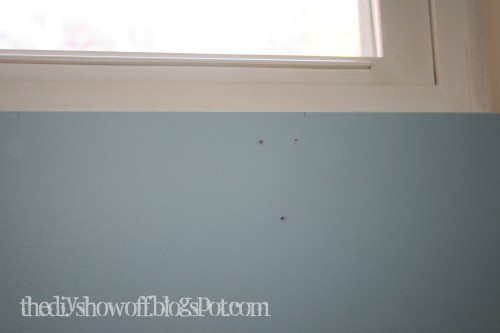
Step Thirteen:
Hold the bracket firmly against the wall and drill the bottom screw into the bracket and wall.
View in gallery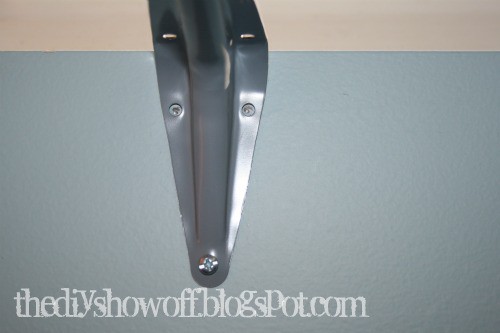
Step 14:
Drill the tray up from the bottom of the tray to the top of the shelf brackets to make sure the holes in the brackets and the holes you made in the tray actually line up correctly.
View in gallery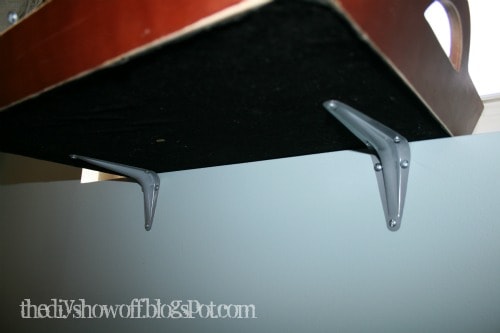
Step 15:
Thread ribbon or string through each eye screw on the outside edge of the tray, then tie the cat toy to the loose end so it hangs down enticingly.
View in gallery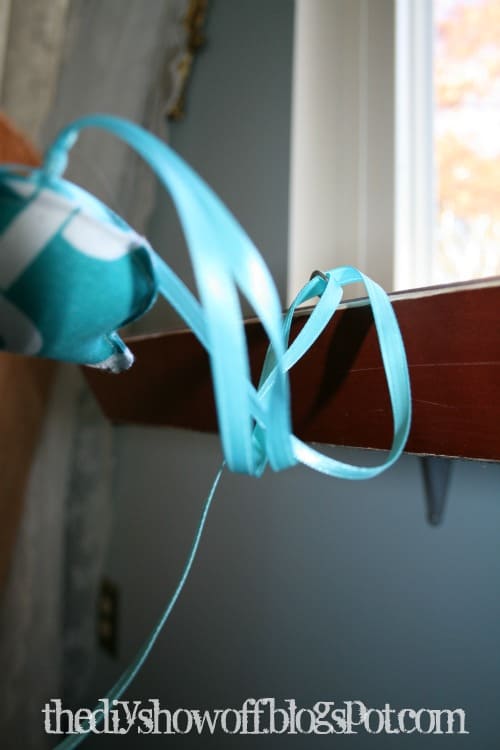
Step 16:
Put the pillow on the tray to make it comfortable.
View in gallery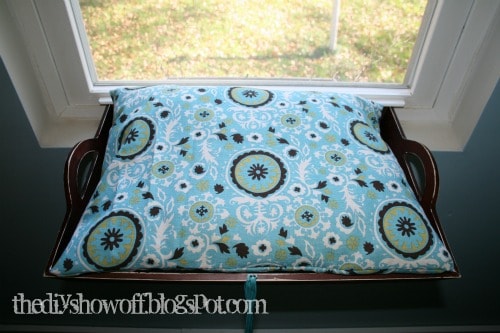
Step 17:
Put your kitty on the pillow and see how happy they are with their new seat!
View in gallery
You know a cat lover who would jump at the chance to make a cat seat for their furry baby if they knew how? Share this tutorial with them for inspiration!
Check more articles in our categories DIY Home & DIY Projects et Tips & Crafts .
Thanks for visiting we hope our article How to make a window seat for your kitty
, we invite you to share the article on Facebook, instagram and whatsapp with the hashtag ☑️ #window #seat #kitty ☑️!